Author: Sheri Tomato

Desserts

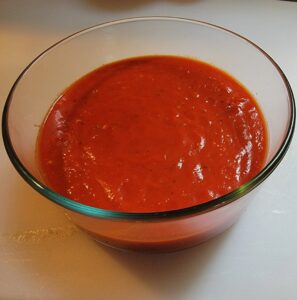
Sheri Tomato’s Signature Red Sauce

This is my favorite red sauce. It is great on pizza. It also makes a wonderful spaghetti sauce, and it is a great base when making chili.

It is very versatile, and has a wonderful, rich flavor.

During the gardening season I use fresh tomatoes instead of canned. I simply simmer them in a heavy pot over the stove, crushing them down, and then strain them to separate out the skin and pulp. 

I also like to throw a couple of browned Italian sausages into the crockpot to give the sauce even more flavor.

Sheri Tomato's Signature Red Sauce

Recipe by Sheri Tomato
Cuisine: Italian
Prep time

10

minutes
Cooking time

minutes

Ingredients

  • 28 oz can crushed tomatoes

  • 28 oz can tomato sauce

  • 28 oz can whole peeled tomatoes

  • 6 oz can tomato paste

  • 1 cup water

  • 1 TB oregano

  • 1 TB sugar

  • 1 tsp onion powder

  • 1 tsp garlic powder

  • 1 tsp basil

  • 1 tsp parsley

  • 1/2 tsp thyme

  • 1/2 tsp salt

  • 1/2 tsp black pepper

  • 2 whole bay leaves

Directions

  • Put all ingredients into the crockpot. Mix well.
  • Cook on low for 6 - 8 hours.
  • Remove bay leaves and your sauce is good to go.

You can store in the refrigerator for 3 days or in an airtight container or freezer bag in the freezer for up to 3 months.

  • Y
 
Salads, Vegetables

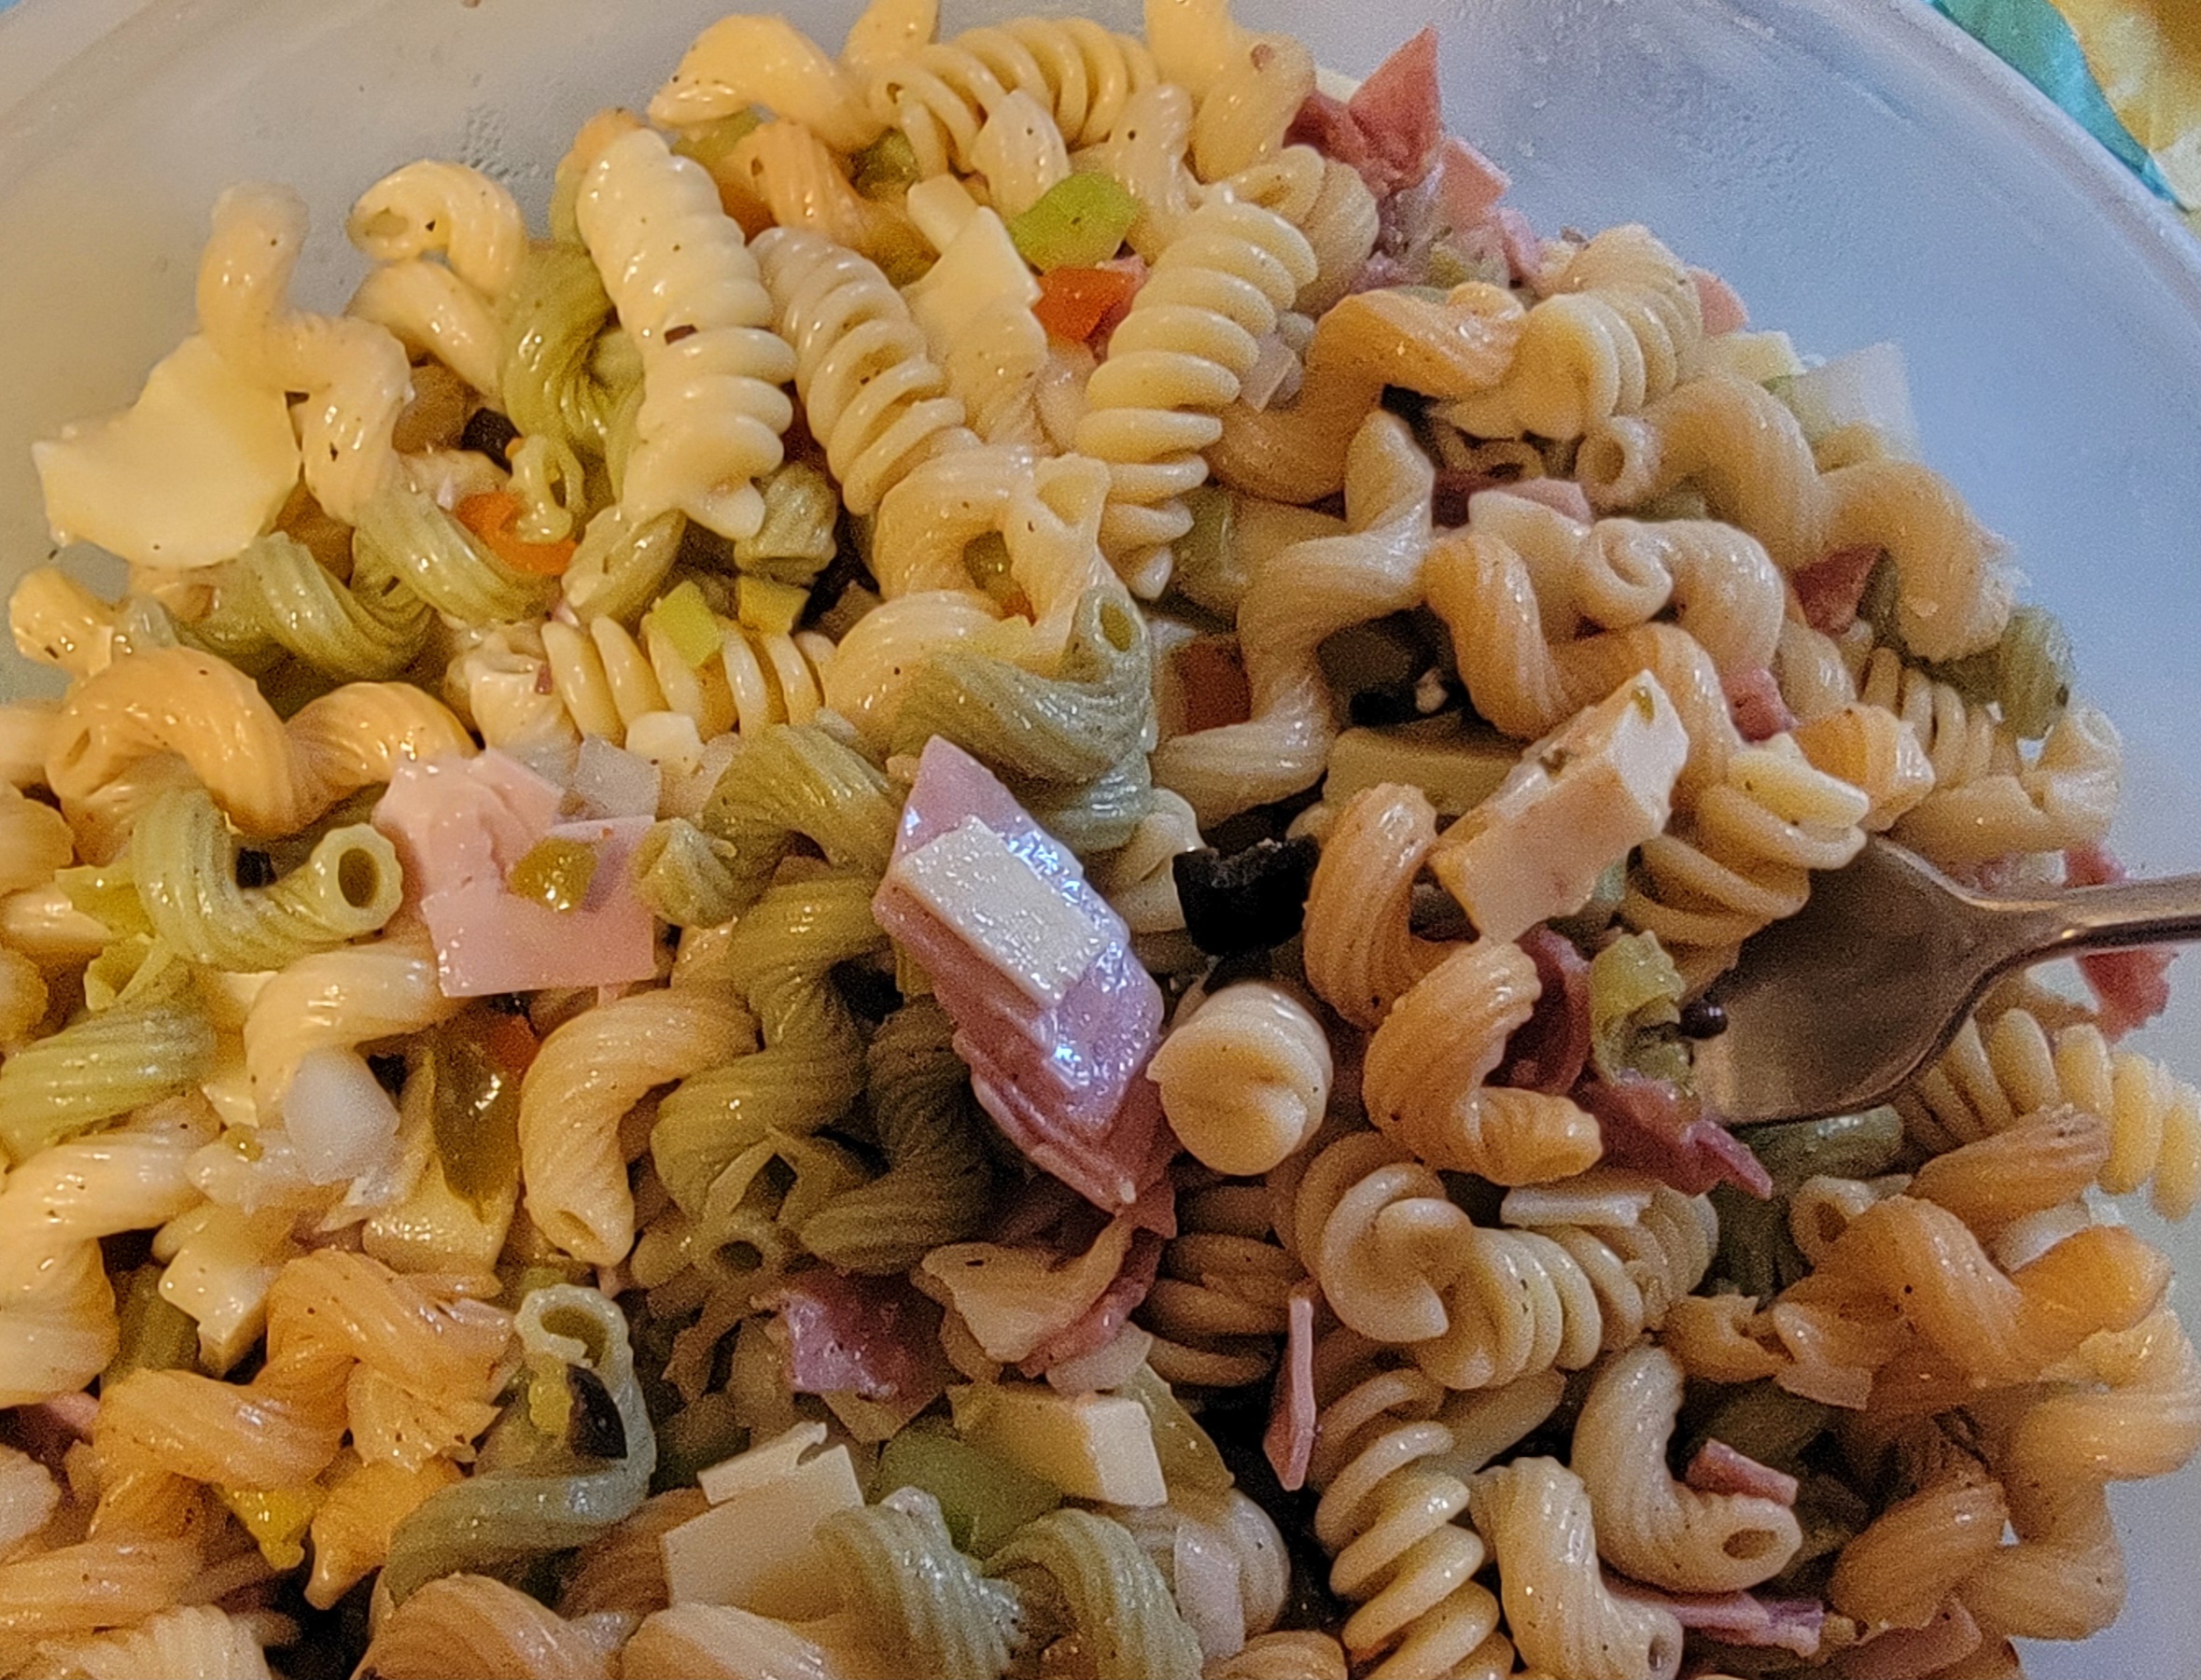
Amazing New Orleans Inspired Pasta Salad

New Orleans is famous for many things, food being right up there on the list. When I was in New Orleans, I visited The Central Grocer. It is famous for its Muffaletta sandwich. 

The Muffaletta is a delicious combination of Italian meats, cheese and it’s infamous spicy olive salad. All of it is piled high and sandwiched between the best round, crusty loaf of bread you have ever tasted.

It is a must have, when visiting the city.

This pasta salad was inspired by the Muffaletta of New Orleans. It is an amazing pasta salad with a spicy kick. It is filled with Italian deli meats, multiple cheese varieties and homemade olive salad. Your guests will love it! Believe me, you won’t be taking any leftovers home with you.

Amazing New Orleans Style Pasta Salad

Recipe by Sheri Tomato

Ingredients

  • 6 cups Fusilli pasta (multi-colored if you can find it)

  • 1 pot boiling water

  • 1/2 cup red wine vinaigrette

  • 1 cup zesty Italian dressing

  • 1 tsp black pepper

  • 1 tsp salt

  • 1/2 tsp Tony Chacheres Creole seasoning

  • 1 2.5 oz can of black olives, chopped

  • 1.2 cyo chopped green pimiento stuffed olives

  • 1 cup hot mix giardideno, drained and chopped

  • 1 cup diced onions (Vidalia if you have it)

  • 1 cup diced celery

  • 1/2 cup combo of jalapeno and pepperoncini, chopped

  • 1 cup chopped fat-free ham

  • 1 cup chopped Genoa Salami

  • 1-2 cups chopped mixed cheese (Swiss, pepper jack, provolone, cheddar, habanero or whatever cheeses you like)

  • 1 cup chopped pepperoni (I like Battistoni)

Directions

  • Boil water and add pasta. Boil till just tender - about 7 minutes. drain and rinse under cold water.
  • Place cold pasta in large bowl.
  • Add salad dressings and seasoning. Mix well.
  • Add meats and cheeses and vegetables. Mix till well combined.
  • Cover and refrigerate overnight.
  • The next day, give it a good stir and serve cold.

The meats and cheeses can be swapped out, according to your taste. This is a very customizable recipe.

 
Doughs

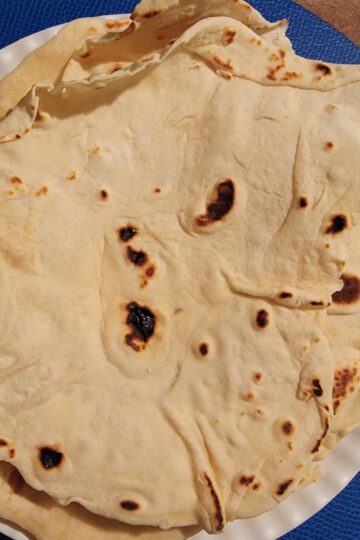
Making Delicious Flour and Chia Tortillas From Scratch

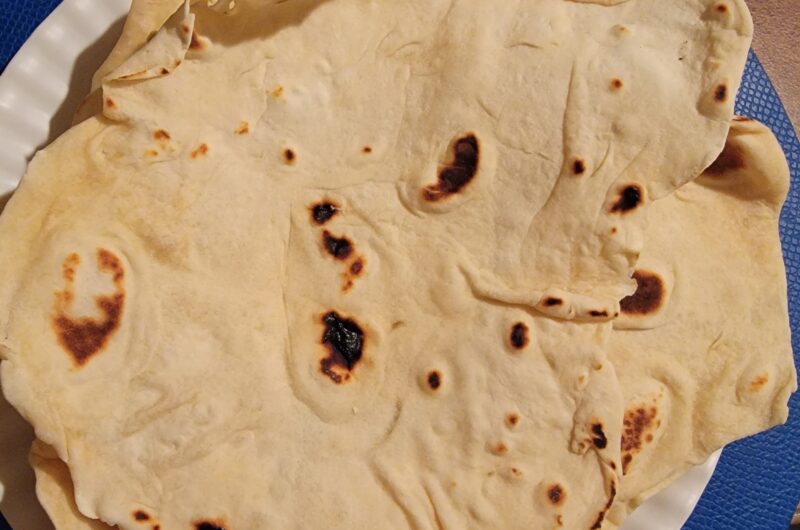
Delicious Flour and Chia Tortillas from Scratch

Recipe by Sheri Tomato

These wonderful tortillas are made with only 6 ingredients (including the water). Check out the back of a store-bought flour tortilla package. The one I just looked at had more than 20 ingredients, most of which were unpronounceable.

Not only are the homemade tortillas healthier, they also taste so much better. You and your family are going to love these tortillas!

Ingredients

  • 3 1/2 cups all-purpose flour

  • 3 TBS wheat flour (optional)

  • 1 TBS ground chia and flax seeds (optional)

  • 1/2 TB baking powder

  • 1 1/4 tsp f=salt

  • 6 TB Crisco shortening

  • 1 1/4 cup hot water

Directions

  • Combine flour, chia, baking powder and salt in your stand mixer bowl. Use whisk attachment to combine thoroughly.
  • Still using the whisk attachment, add Crisco in bits, a little at a time until all of the Crisco has been incorporated into the flour mixture. It will have a crumb like texture.
  • Switching to the dough hook, slowly add the hot water. Mix on medium low until the dough pulls away from the sides of the bowl, It should have a doughy texture.
  • Place the dough on a floured board and knead for 5 - 10 minutes. The dough should be smooth. Cover loosely with a sheet of parchment paper. Place a damp kitchen towel over the parchment covered dough. Let rest for about 30 minutes.
  • Separate your dough into 12 dough balls (about 2.5 ounces each). Place in large sealed baggie and let rest 10 minutes.
  • Taking one ball at a time (leaving the rest of the dough balls in the sealed baggie so they don't dry out), flatten ball and roll out as thin as you can. Flip it over every few rolls to keep it from snapping back. When it is at desired size, you are ready to cook.
  • Heat flat iron pan or griddle over medium heat. You can adjust the heat as you cook, if pan is too hot or not hot enough.
  • Cook one tortilla at a time, by placing it on the preheated skillet. Cook for 20 seconds, flip over and cook the other side for 20 seconds. As it is cooking, roll out the next dough ball. The tortilla dough will bubble up in places and have brown spots on it. This is what you want. When it is done, place it on a plate or in a tortilla warmer and cover. Proceed to the next dough ball and repeat step 8 until all are done.
  • At this point, you are ready to roll. Either fill them with toppings of your choice, or place in sealed baggie and keep in the refrigerator for later use. They will be good in the refrigerator for up to a week.

Notes

  • Check out my taco meat recipe to use as a filling. Throw in some chopped lettuce and a few diced tomatoes and you have a great snack!
 
Appetizers, Desserts, Meat

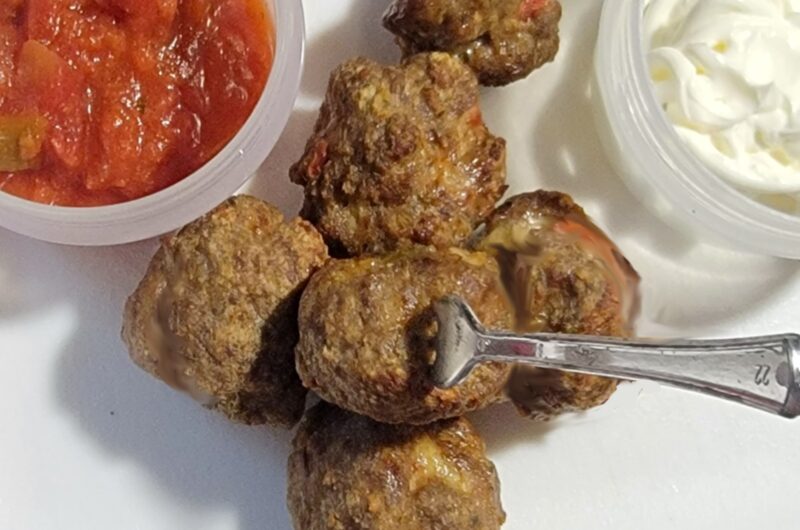
Taco Meatballs

Taco Meatballs In the Air Fryer

Recipe by Sheri Tomato

Spicy, delicious meatballs you can use so many ways. Put them in a hoagie. Put them on top of a salad with a little salsa and sour cream. Serve them on a party platter with toothpicks and individual dip cups. Very easy recipe. You can serve them immediately or freeze them to use in a pinch when you need to serve up an appetizer quick. And of course, they are always great to add to a spaghetti sauce. Who needs frozen meatballs from the supermarket when you can make your own.

Ingredients

  • 1 lb ground beef

  • 2 eggs

  • 1/4 cup salsa

  • 1 tsp paprika

  • 1 tsp cumin

  • 1 tsp salt

  • 1 tsp pepper

  • 1/2 tsp garlic powder

  • 1/2 tsp onion powder

  • 1/2 tsp crushed red pepper

  • 1/2 tsp Italian seasoning

  • 1/2 cup seasoned bread crumbs

Directions

  • Break up ground beef in large bowl. Add eggs and salsa. Combine well.
  • Add in the seasonings and breadcrumbs. Mix until everything is thoroughly combined.
  • Shape each meatball into the size of a golf ball. You should end up with about 20 meatballs.
  • Place your meatballs in a single layer in your air fryer, with none of them touching each other. Depending on the size of your air fryer, you may have to work in batches. Cook at 375 degrees Fahrenheit for 10 -15 minutes until they are browned and reach an internal temperature of 160 degrees Fahrenheit.

 
Doughs

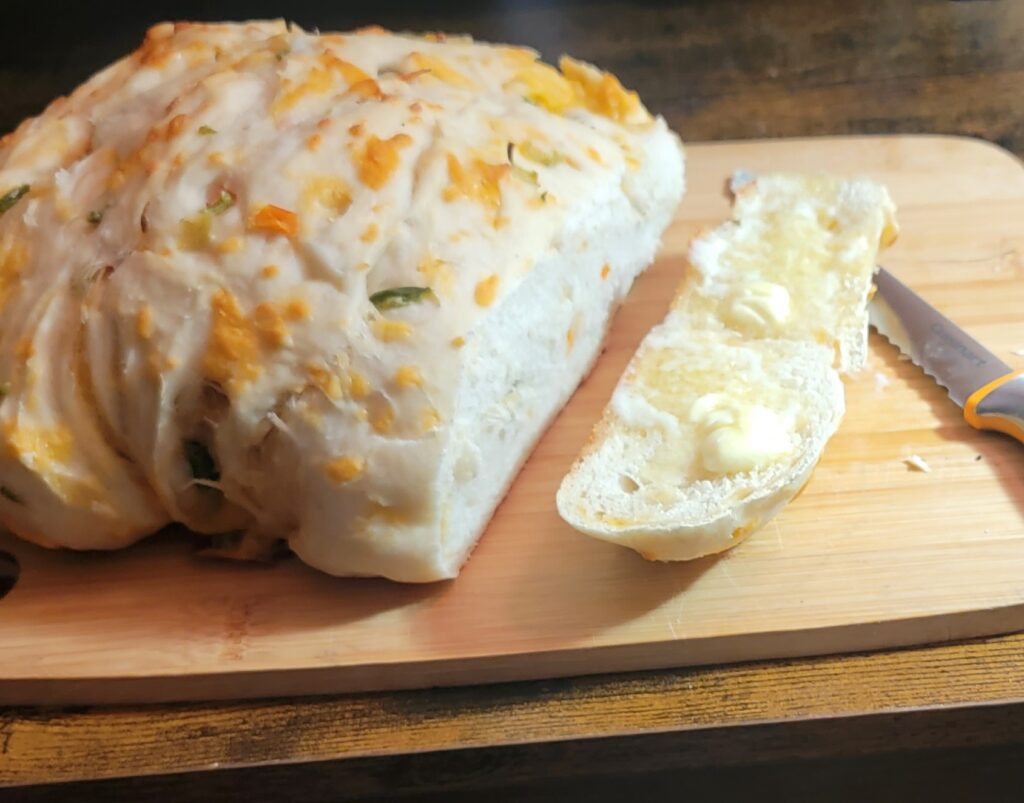
Three Pepper Cheddar Cheese Bread

Three Pepper Cheddar Bread Scratch Cooking

Recipe by Sheri Tomato
Cooking time

45

minutes

Delicious, crusty bread made from scratch. The cheddar cheese and three types of pepper give it a great artisan style look and flavor. Your guests will love it!

Ingredients

  • Yeast Mixture
  • 1 1/3 cup very warm water

  • 2 1/4 tsp active dry yeast

  • 2 tsps sugar

  • Dry Ingredients
  • 3 cups Unbleached bread flour

  • 2 tsps salt

  • 1/4 tsp garlic powder

  • 3 tsp ground chia seeds (optional)

  • Bread Filler Ingredients
  • 1 cup cheddar cheese

  • 2 each jalapeno peppers, diced

  • 2 each banana peppers, diced

  • 1 each red bell pepper, diced

Directions

  • In kitchen aid mixing bowl, combine water, yeast and sugar. Let sit for 5 - 10 minutes to proof. Bubbles should form. If the water mix doesn't get foamy; the yeast is no good. Discard and start over with new yeast.
  • In a separate bowl, mix together flour, salt, chia seeds and garlic powder.
  • Using dough hook attachment for the kitchen aid mixer, add flour mixture, 1 cup at a time into the foamy yeast water until all of the flour is incorporated. Dough should be slightly sticky.
  • Cover the mixing bowl tightly with Saran Wrap. Place a kitchen towl over the wrapped bowl and let the dough rise in a warm place till dough has doubled in size (about 2 hours).
  • Place dough on a lightly floured surface. Add the chopped peppers and shredded cheddar cheese a little at a time, stretching and folding the dough over and over until all of the peppers and cheese are thoroughly combined. Form the dough into a ball.
  • Place the dough ball on a large sheet of parchment paper. Cover loosely with plastic wrap and kitchen towel. Let rise for 1 hour.
  • In the meantime, place lid on Dutch oven and place the Dutch oven pot on a lower rack of the oven. Preheat oven to 450 degrees Fahrenheit with the pot in the oven.
  • Once the oven is preheated and dough has completed its second rise, using oven mitts, take the Dutch oven out of the oven and remove the lid. Caution, it will be very hot.
  • Make a few horizontal cuts in the top of the dough with a sharp knife. Taking both ends of the parchment paper, carefully transfer the dough to the Dutch oven, keeping the parchment paper under the dough.
  • Trim the parchment paper so that no paper is overlapping the top of the Dutch oven. Place the lid back on the Dutch oven and return it to the oven.
  • Bake for 30 minutes. Remove lid and cook for an additional 20 - 30 minutes, till bread is a light golden color. Remove the pot from the oven.
  • Carefully take both ends of the parchment paper and move the bread out of the pot and onto a cooling rack.
  • Let the bread cool for at least 30 minutes before cutting into it.

Notes

  • Once the bread has cooled, store the unused bread in a sealed container or plastic bag. There are no preservatives in this bread so please use it up within 3 days.
 
Appetizers, Doughs

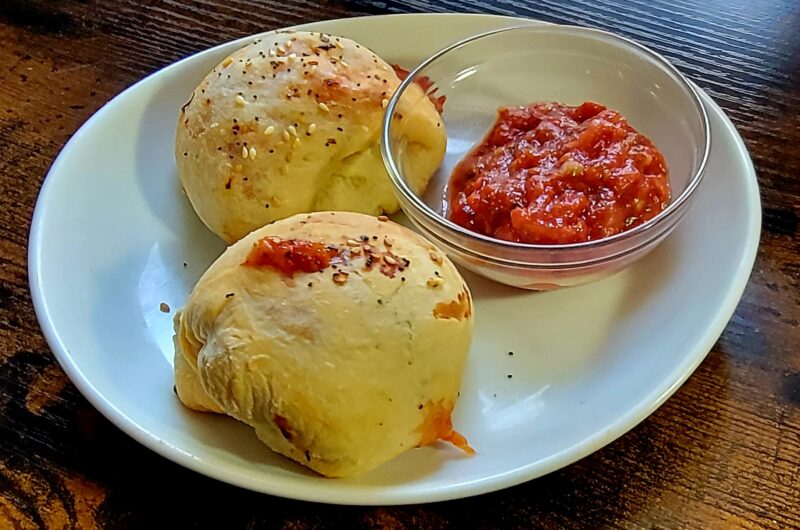
Let’s Bring Pizza Balls To The Party

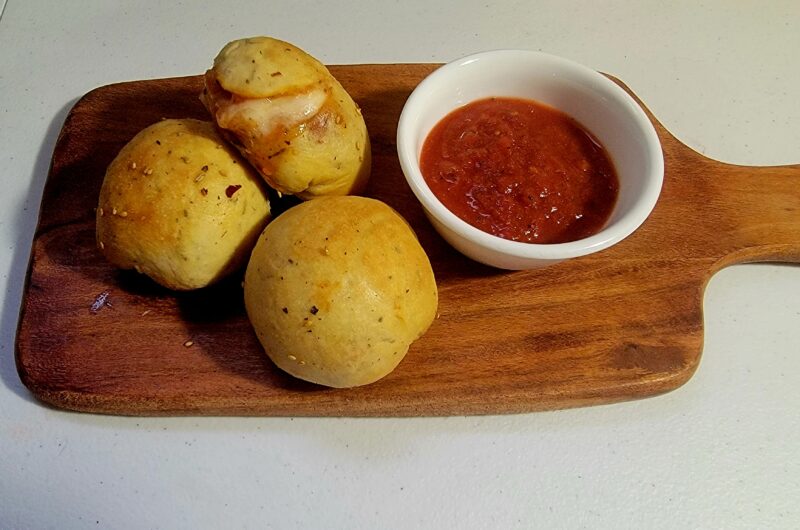
Any time I’ve brought these yummy, saucy, cheesy pizza balls to a party they were an instant hit. They are filled with flavor and make a great hand held snack for th wanderers in the crowd.


Cheesy, Saucy Pizza Ball Snacks

Recipe by Sheri Tomato

Cheese, Pepperoni and sauce all wrapped up in a delicious pizza dough, air fryed to delicious perfection.

Ingredients

  • 12 oz Pizza dough

  • Pizza sauce

  • Shredded mozzarella cheese

  • Pepperoni, sliced thin

  • Flour Glue (In small bowl mix 5 parts water to 3 parts flour - mix well, till a smooth thin paste is formed) This will be your binder.

  • Olive oil, for brushing balls with

  • Sesame seeds

  • Everything bagel mix

Directions

  • Let pizza dough rise in covered bowl at room temperature till double in size.
  • Stretch out the dough on lightly floured surface to a 12x 8 rectangle. Cut into 8 even squares (about 1.8 ounces each.
  • Cover with parchment paper and a kitchen towel. Let rest 20 minutes.
  • Stretch each square gently into 4x4 squares. Work one square at a time, keeping the other squares covered.
  • Apply thin line of flour glue on all edges of square.
  • In the middle of the dough square, place 1 TB sauce, and on top of that, 1 TB cheese and then 3 slices pepperoni on top of the cheese. Top pepperonis with a little more cheese.
  • To form a ball, gently pull one side of dough over half the ingredients, and then pull the opposite side of the dough oven the rest of the ingredients , overlapping the first side. Pinch the other two ends closed. Place a small amount of flour glue on each pinched end and pull to the middle. All of the inside ingredients should be covered by dough at this point. Gently roll your ball on a floured surface forming into a ball.
  • Repeat step 7 with the rest of the squares until you have 8 pizza balls. Place on a parchment paper lined tray and place in the freezer.
  • Preheat air fryer to 390 degrees Fahrenheit.
  • When air fryer is done preheating, working in batches, place your pizza dough balls in the air fryer with a little space between each ball.
  • Brush each dough ball with olive oil and sprinkle sesame seeds and everything bagel mix over them.
  • Cook for 5 minutes, turn over and cook 5 more minutes, or until a golden color.
  • Let cool and serve with ranch dressing or Marinar sauce.

Notes

  • These can be made ahead of time and frozen in a freezer safe container for up to 3 months. On the day of the party, you can reheat them in the air fryer for about 5 minutes.
 
Desserts, Meat

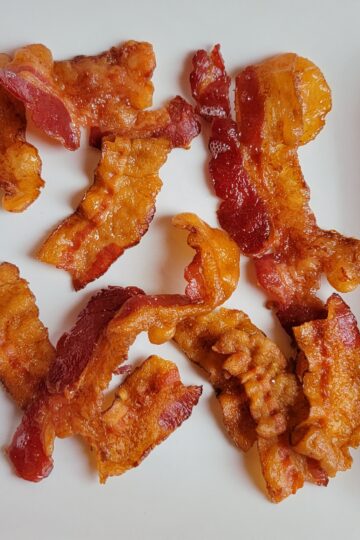
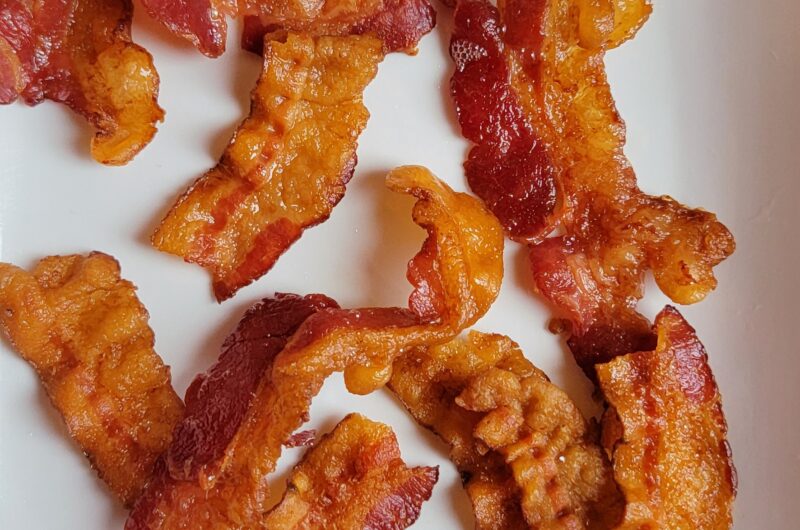
How To Cook Bacon In The Oven

Who doesn’t love bacon? The smell of it cooking, the crispy texture, the wonderful taste of it on a sandwich, or in a salad, or just on it’s own. Bacon, bacon, bacon. Let’s make some bacon in the oven.

Why in the oven? It doesn’t make a mess, you can make more at a time, and it always comes out perfect.

Bacon Cooked In The Oven

Recipe by Sheri Tomato
Prep time

5

minutes
Cooking time

30

minutes
Total time

35

minutes

Ingredients

  • 1 lb Sliced Bacon

  • Baking sheet

  • Aluminum Foil

Directions

  • Line your baking sheet with aluminum foil.
  • Lay your bacon in a single layer on the prepared baking sheet.
  • Place it in a cold oven. This is very important. Do not preheat oven.
  • Once bacon is in the oven, turn the oven on to 450 degrees Fahrenheit.
  • Cook for 30-40 minutes.
  • Not all ovens are created equally, so start peeking after 25 minutes. Remove it from the oven when the bacon has reached your desired doneness.
  • Note - They say you don't need to flip bacon when you are cooking it in the oven, but I can't help myself. I usually flip it once, halfway through the cooking time.
 
Desserts, Meat

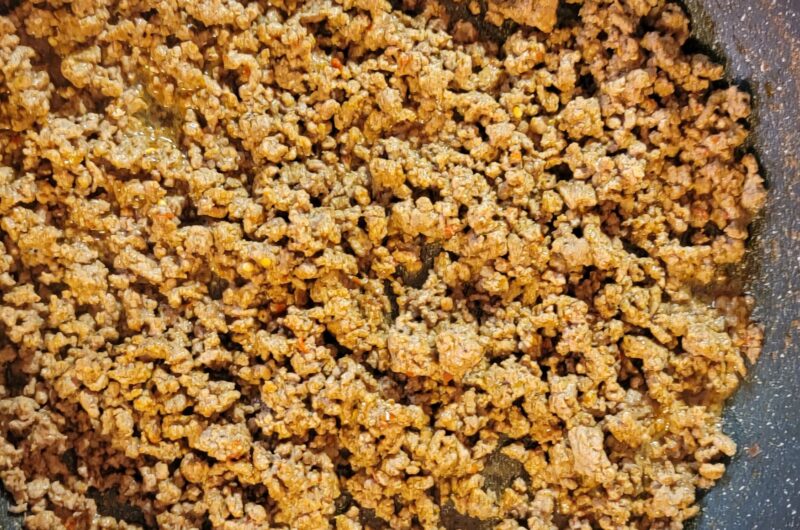
Ground Beef Taco Meat Recipe You’ll Cook Again and Again

I always keep a batch of taco meat in my freezer. It is such a versatile dish.

You can more than just tacos or burritos. Who doesn’t love a rice taco bowl, or a taco salad, or taco eggrolls.

This is one of my favorite taco meat recipes. I always make a double batch. Eat some, save some.

Really Easy, Tasty Taco Meat

Recipe by Sheri Tomato

Ingredients

  • 1 lb ground beef (I like 85/15)

  • 1 tsp chili powder

  • 1 tsp ground cumin

  • 1 tsp salt

  • 1 tsp pepper

  • 1/2 tsp garlic powder

  • 1/2 tsp onion powder

  • 1/2 tsp crushed red pepper flakes

  • 1/4 tsp oregano

  • 1 1/2 cup water

Directions

  • Cook ground beef under med/high heat in frying pan, breaking the meat into small pieces as you stir. Cook until all meat has been browned.
  • Drain grease and return pan to stove.
  • Mix all of the spices together and add to meat. Combine well.
  • Stir in one cup of water. Heat till boiling, then turn heat down to med/low. Cook till all liquid is gone, stirring occasionally.
  • Done. So easy and tasty, too.
 
Sauces and Bastes

Quick and Easy Pizza Sauce Recipe

This is such an easy recipe. It makes cooking from scratch a joy.

I make pizza a lot, and when I say a lot, I mean there is almost always a ball of dough fermenting in the refrigerator.

So, when I am in the mood to make a pizza, or pizza poppers or calzones, or whatever pizza-like creature I’ve been thinking about, it’s nice to have an easy sauce recipe I can rely on.

It’s also great for dipping.

No-Cook Pizza Sauce Made with Crushed Tomatoes

Recipe by Sheri Tomato

Ingredients

  • 1 28 oz can San Marzano Crushed Tomatoes

  • 1 tsp sugar

  • 1/2 tsp salt

  • 1 tsp oregano

  • 1 tsp basil

  • 1 tsp garlic powder

  • 1/2 tsp crushed red pepper (optional)

  • 1 TB red wine vinegar

Directions

  • Mix all ingredients together. That's it, you're done. It is ready to go.

Notes

  • If you are not using your sauce right away, it will keep for up to one week in the refrigerator. Make sure to store it in an airtight container.
  • If you are going to freeze it, store it in an airtight freezer container or freezer storage bag. It can be stored in the freezer for up to 3 months.
  • When using your sauce, it does not need to be cooked. Just thaw it out and bring it to room temperature.
 
Appetizers

The Game-time Appetizer Sure To Please Everyone

These tasty treats are so easy to make. I always keep a batch in the freezer. You just pull them out and toss them in the air fryer. 

I get so many compliments from people when I bring these guys to the party.

Cheesy Pleasy Pizza Popper Pleasers

Recipe by Sheri Tomato

These guys go fast, so make sure to make an extra batch. If stored properly they are good for up to 5 days in the fridge and up to 3 months in the freezer.

You can use store bought pizza dough, but I recommend you use My go-to Pizza Dough Recipe. Its soft, airy texture is perfect for this recipe.

Ingredients

Directions

  • If pizza dough is refrigerated, bring to room temperature in covered container (1 - 2 hours).
  • If cooking in oven, preheat to 450 degrees Fahrenheit. For air fryer - preheat to 400 degrees Fahrenheit.
  • On lightly floured surface, divide dough into 12 2.5 oz balls. Flatten into squares, leaving space between each square. Cover with clean kitchen towel and let dough rest in warm place for 15 minutes.
  • Roll out each square a little more, without tearing the dough. Cover and let rest another 10 minutes.
  • Roll out each square one more time to approximately 5x5 inches each. Cover one last time and let rest 10 more minutes.
  • Working one square at a time (keeping the other ones covered), Place 1 TB mozzarella cheese in middle of square. Place 1 pepperoni slice on top of cheese. Spoon 1 TB of sauce on top of pepperoni. Place another pepperoni on top of sauce. Put 1 more TB mozzarella cheese on top of 2nd pepperoni.
  • Gently pull up corners of dough, one at a time to cover ingredients. Seal dough and gently pack it into a ball with your hands, like you would a snowball. Then gently roll the sealed ends around on the lightly floured surface to smooth it out. Place the balls, seal side down on a lightly oiled, aluminum foil covered baking sheet. Repeat for the rest of the balls, being sure to leave space between each ball.
  • Brush each ball with olive oil. Then sprinkle sesame seeds on top (optional). For oven, place baking sheet in oven and cook till a light golden brown (about 20 minutes) For air fryer, cook in batches, being sure to keep a little space around each ball, cooking till golden colored (about 8 - 10 minutes).
  • Let cool a few minutes and serve with pizza sauce or ranch dressing for dipping.