Author: Sheri Tomato

wok burger
Meat, Uncategorized

Best of Both Worlds – Juicy Burgers with a Healthy Salad

There is nothing I love more than a juicy delicious hamburger. Yes, I know it’s not the healthiest of meals. That’s why I pile salad ingredients between the buns. 

I also add a teaspoon of turmeric into the ground beef, along with the other spices.

According to the Cleveland Clinic and many other sources, the spice turmeric can act as an antioxidant and has been credited with all kinds of other benefits including pain relief, improving memory, an antidepressent, antiinflamatory agent and also has been credited with lowering the risk of heart disease.

What more could you ask for in a burger?  Enjoy!

Wok Burger with Loaded Salad Toppings

Recipe by Sheri Tomato

Have the best of both worlds with this delicious burger cooking in it's juices at the center of the wok, then put it on a toasted bun with wonderful, healthy salad ingredients on the top and bottom. Yum.

Ingredients

  • 1 lb ground beef

  • 2 TB water

  • 1/4 tsp baking soda

  • salt and pepper, to taste

  • 1 tsp chipotle seasoning

  • 1 tsp turmeric

  • 3 each hamburger buns, buttered and toasted (in wok or air fryer

  • Salad Toppings
  • 1 cup Lettuce, cut into thin strips

  • 1 each English cucumber, sliced thin, with skin on

  • multicolored sweet peppers, deseeded and cut into thin rings

  • Ranch dressing

Directions

  • Break up ground beef in large mixing bowl.
  • In small bowl or cup, whisk together water and baking soda.
  • Mix water/baking soda combo into ground beef. Let sit 15 minutes in refrigerator.
  • Form into 3 burger balls.
  • Heat wok on medium high heat.
  • Place a ball in middle of wok. Flatten with heavy spatula.
  • Season with salt, pepper and chili seasoning. Let cook for 2 minutes or until bottom starts to brown.
  • Flip. Season other side. Let cook for 1-2 more minutes, until temperature reads 165 degrees Fahrenheit.
  • Remove from pan and repeat steps 6 -8 for other two burgers. Cover cooked burgers with aluminum foil to retain heat until all burgers are cooked.
  • Toast buttered hamburger bun in wok or air fryer until lightly browned.
  • Add lettuce and onions to bottom of bun. Place burger over lettuce. Top with peppers, cucumbers, ranch dressing, and of course, top of bun.
 
Appetizers, Eggs & vegetables, Vegetables

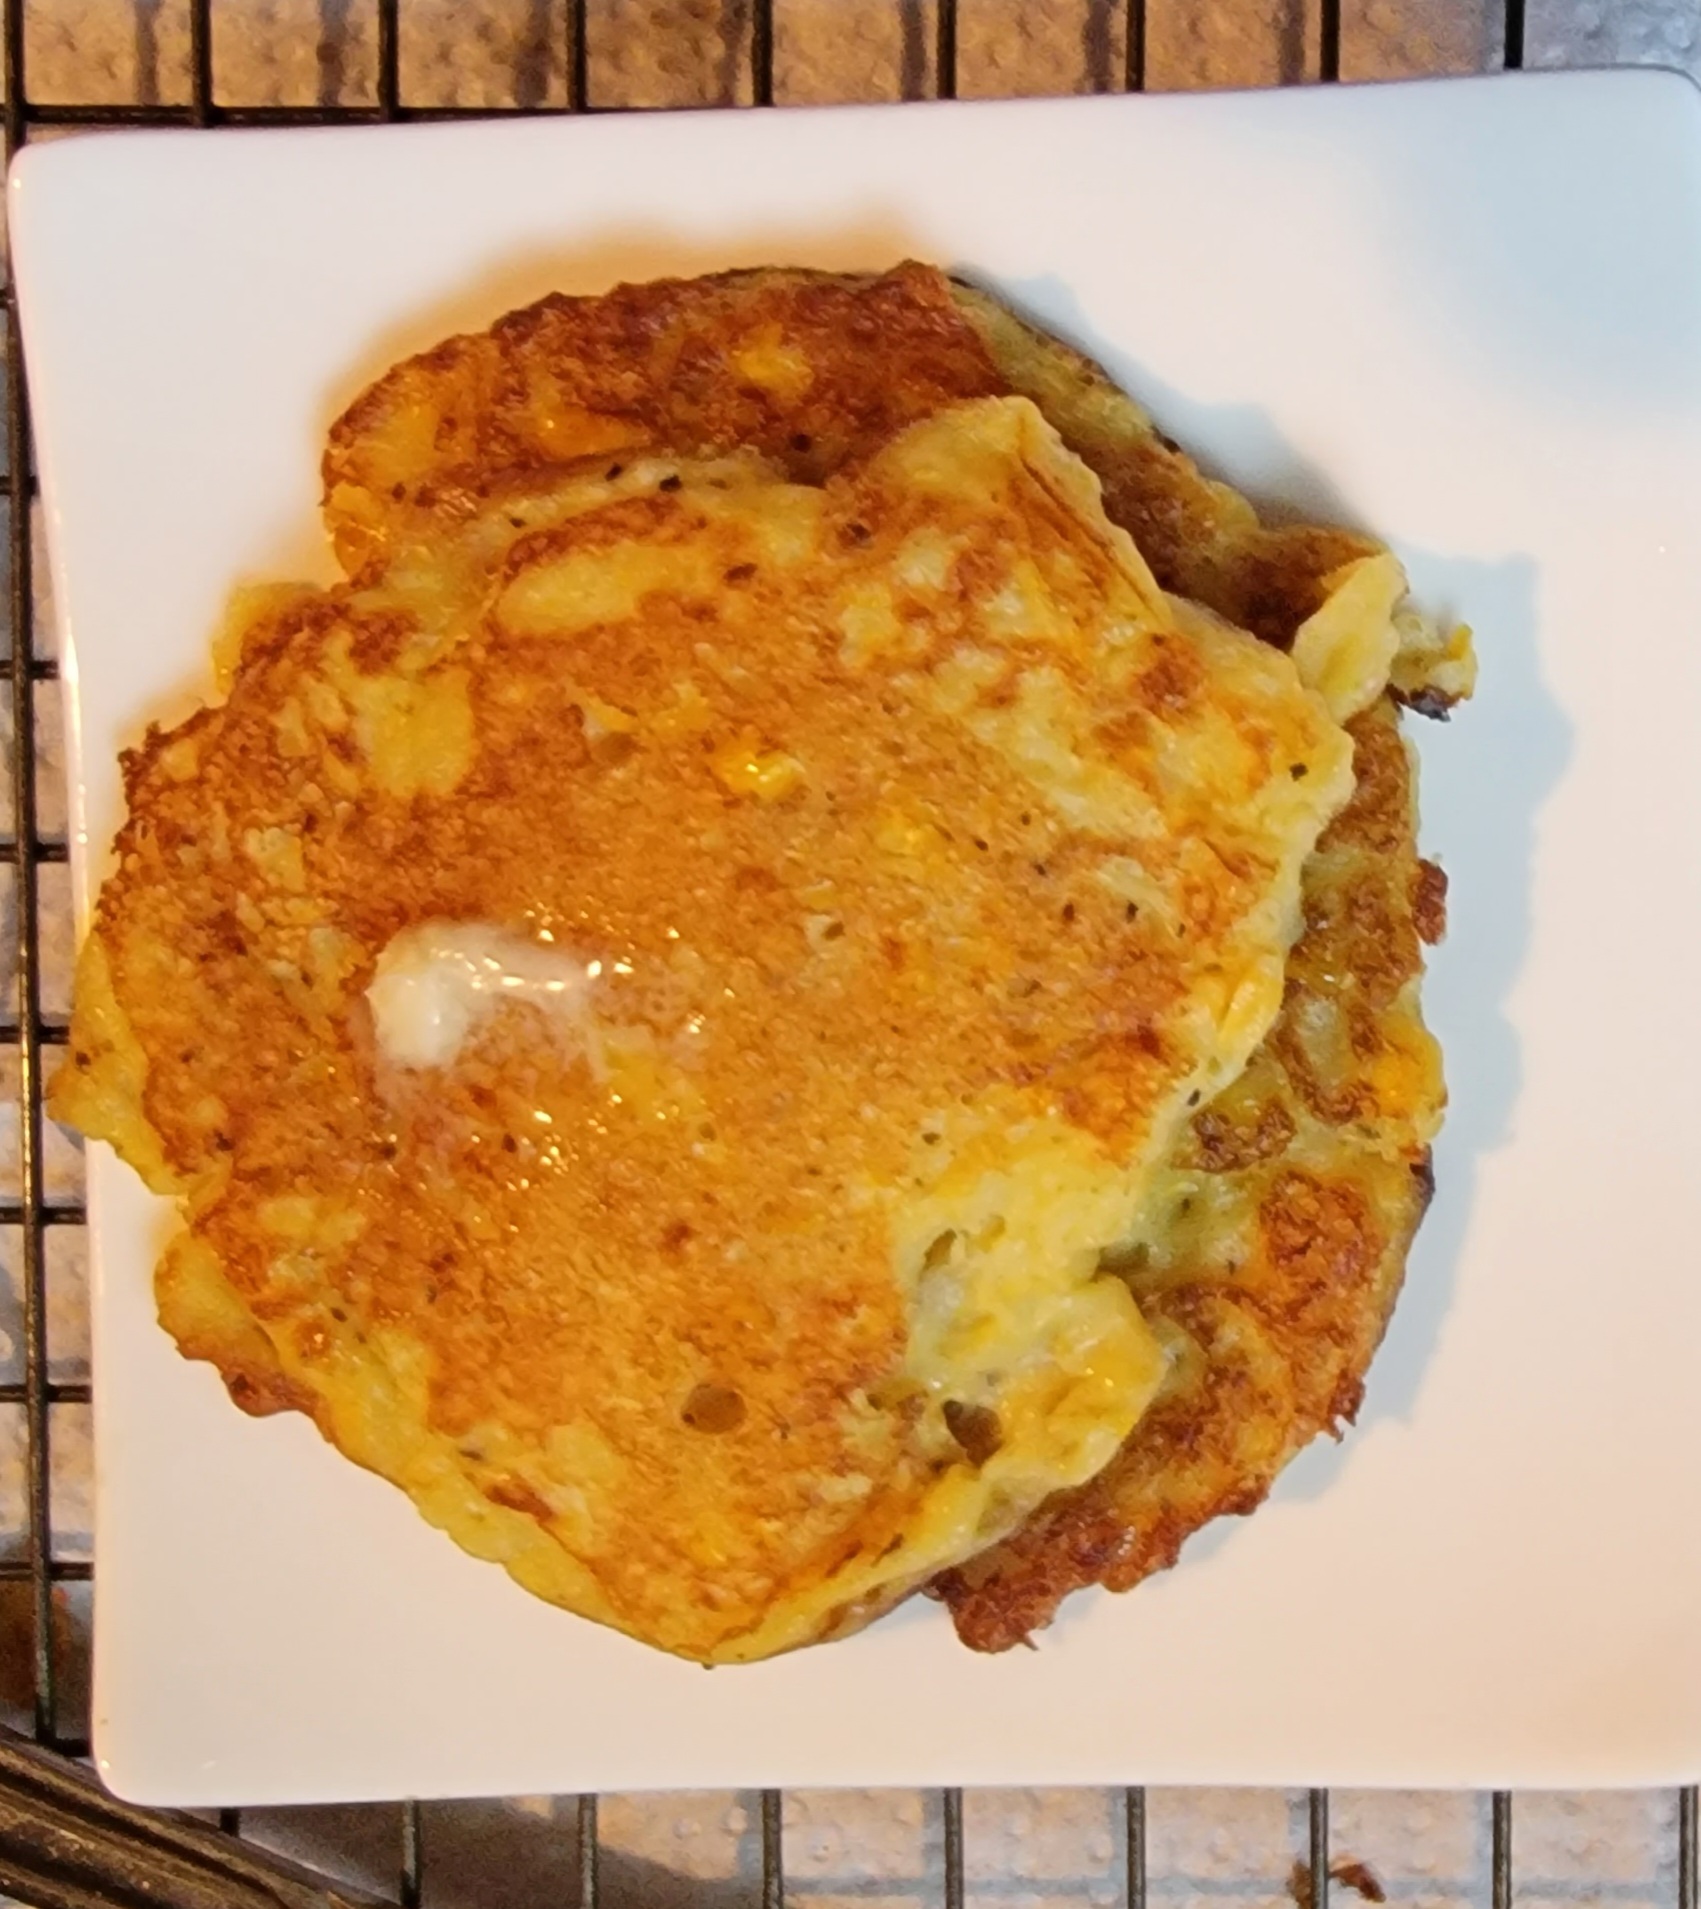
Cook up a plate of old school corn fritters

Mom's Corn Fritters

Recipe by Sheri Tomato
Prep time

5

minutes
Cooking time

4

minutes
Total time

0

minutes

This was one of my favorite side dishes growing. My mom would mix up a big batch. We would eat them as fast as she could make them. Simple delicious way to eat your veggies.

Ingredients

  • 1 egg

  • 1 14 oz can Creamed corn

  • 1/3 cup all purpose flour

  • 1 tsp baking powder

  • 1/2 tsp salt

  • 1/2 tsp black pepper

  • Oil for frying

  • Butter for serving

Directions

  • In medium sized bowl, whisk egg. Mix in the creamed corn.
  • In separate bowl combine flour, baking powder, salt and pepper.
  • Slowly add flour mixture to egg and corn while stirring with whisk. Mix well until all ingredients are thoroughly combined.
  • Heat frying pan, medium high and add 1 Tbs of oil. Swirl pan to coat it.
  • Working in batches, drop the batter into the hot pan, forming circles. Be sure to leave space between each fritter.
  • Cook for 2 minutes or until top of batter starts to bubble. Flip and cook other side for another minute. If fristters start to burn, lower heat to medium.
  • Fritters are done when both sides are golden brown.
  • Place cooked fritters on cooling rack while cooking the rest of the fritters. This will prevent your corn fritters from getting soggy.
  • Serve hot with a pat of butter atop each corn fritter.

Notes

  • You can store corn fritters in the refrigerator for 3 - 5 days or freeze them in a sealed freezer container for up to 3 months.
 
pizza calzone
Appetizers, Doughs

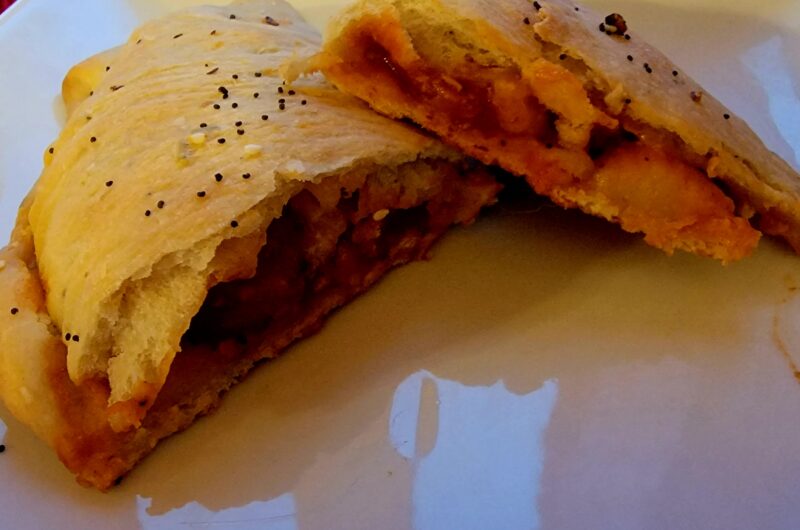
Tray full of pizza calzones

In the mood for some pizza sandwiches? These miniature calzones are full of pizza flavor. While this recipe is for a cheese and pepperoni calzone, you can customize them anyway you like.  Hot peppers, sauteed onions, whatever you or your guests desire.

Party Pizza Calzones

Recipe by Sheri Tomato
Prep time

minutes
Cooking time

minutes
Total time

0

minutes

Ingredients

Directions

  • Take pizza dough from fridge and allow to rise at room temperature in covered bowl for two hours.
  • Preheat oven to 450 degrees Fahrenheit
  • Spread pizza dough out on a lightly floured surface with your fingers. Separate into 8 equal pieces. Roll each piece into a dough ball. Cover your 8 dough balls with a clean kitchen towel and let rest for thirty minutes.
  • Roll each dough ball into a square, keeping the other balls covered as you work. Toss and spread dough with your fingers to spread it out.
  • One square at a time, in diamond placement, spoon 2 tablespoons of pizza sauce on one half of the diamond, then spread a layer of cheese on top of the sauce Next lay down about 8 pepperoni slices over the cheese, and then one more layer of cheese.
  • Brush a little water around the edges of the dough as a sealing agent. Then fold bare half of diamond over the other half. Use a fork to form a seal all around the edges.
  • Using a spatula, carefully place calzones on lightly oiled aluminum foil lined baking sheet, being sure to allow space between each calzone.
  • Brush olive oil over top of each calzone and sprinkle with Everything Bagel seasoning.
  • Bake in oven for 30 - 40 minutes or until top is golden brown. Let cool on baking rack for 5 minutes.

Notes

  • You can serve this with a pizza sauce dip or ranch dressing. Very good.
 
Homemade Bread
Doughs

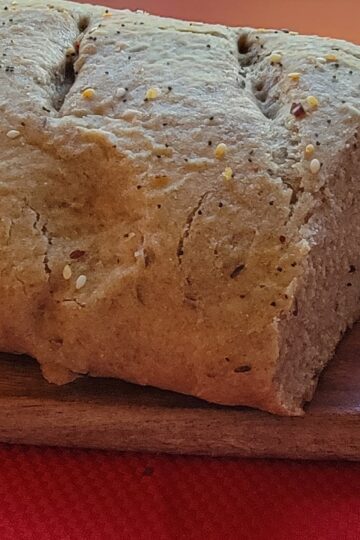
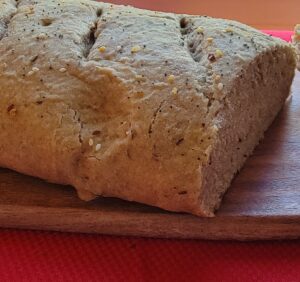
Nothing says home like homemade bread

There is nothing like the smell of freshly baked bread coming out of the oven. For this bread I mixed together bread flour and rye flour along with some molasses and caraway seeds to make it sort of a hybrid rye. Crusty on the outside, light and yummy on the inside. It is delicious. Your guests will love this.

Homemade bread with a taste of Rye

Recipe by Sheri Tomato
Course: Lunch, Dinner, PartyCuisine: AmericanDifficulty: Medium

Equipment

  • stand mixer, kitchen aid, baking-6764605.jpgstand mixer
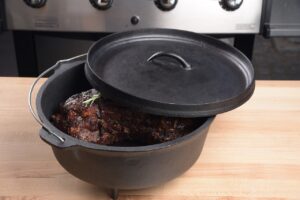
  • pork roast, dutch oven, grill pot-6660815.jpgDutch Oven

This is my hybrid rye bread. Part rye, part white with Everything Bagel Seasoning on top. Really delicious.

Ingredients

  • 1 cup rye flour, divided

  • 1 1/4 cups water

  • 3 cups bread flour, divided

  • 1 1/2 tsp active dry yeast, divided

  • 2 TB caraway seeds

  • 2 tsp salt

  • 1 TB Everything Bagel Seasoning (optional)

  • 1 TB Molasses

  • 1 TB Olive Oil

Directions

  • In stand mixer bowl, combine 1/2 cup rye flour, 1/2 cup bread flour, water and 1/4 tsp yeast. Mix well. Cover with plastic wrap and let rise overnight at room temperature.
  • The next day, add the rest of the yeast to the dough mixture. The watery dough mix should start to bubble after a few minutes, as it absorbs the yeast.
  • Mix together the rest of the bread flour and rye flour. Mix in the caraway seeds and add it all to your dough mixture from the night before.
  • Add in the salt, molasses and olive oil.
  • Using dough hook, mix on medium speed until dough is smooth (about 10 minutes).
  • Form the dough into a ball and drizzle it with a little bit of olive oil
  • Cover with plastic wrap and let it double in size. This should take 1- 2 hours.
  • After the dough has doubled, preheat your oven to 375 degrees Fahrenheit.
  • Gently shape your dough into an oval shape and place in a lightly oiled dutch oven. Put the lid on it and let it rise again as your oven is preheating (about 45 minutes).
  • Once the oven is preheated and your dough has risen, slash the top of the dough diagonally 3 or 4 times with about 2 inches in between each cut. Brush it with olive oil and lightly sprinkle salt and Everything Bagel seasoning over it.
  • Cook for 10 minutes at 375 and then lower temperature to 350. Cook an additional 30 - 40 minutes. Bread is done when it reaches an internal temperature between 180 and 210.
  • Let the bread cool before slicing (at least 1 hour to 1 1/2 hours).
 
Meatloaf
Meat

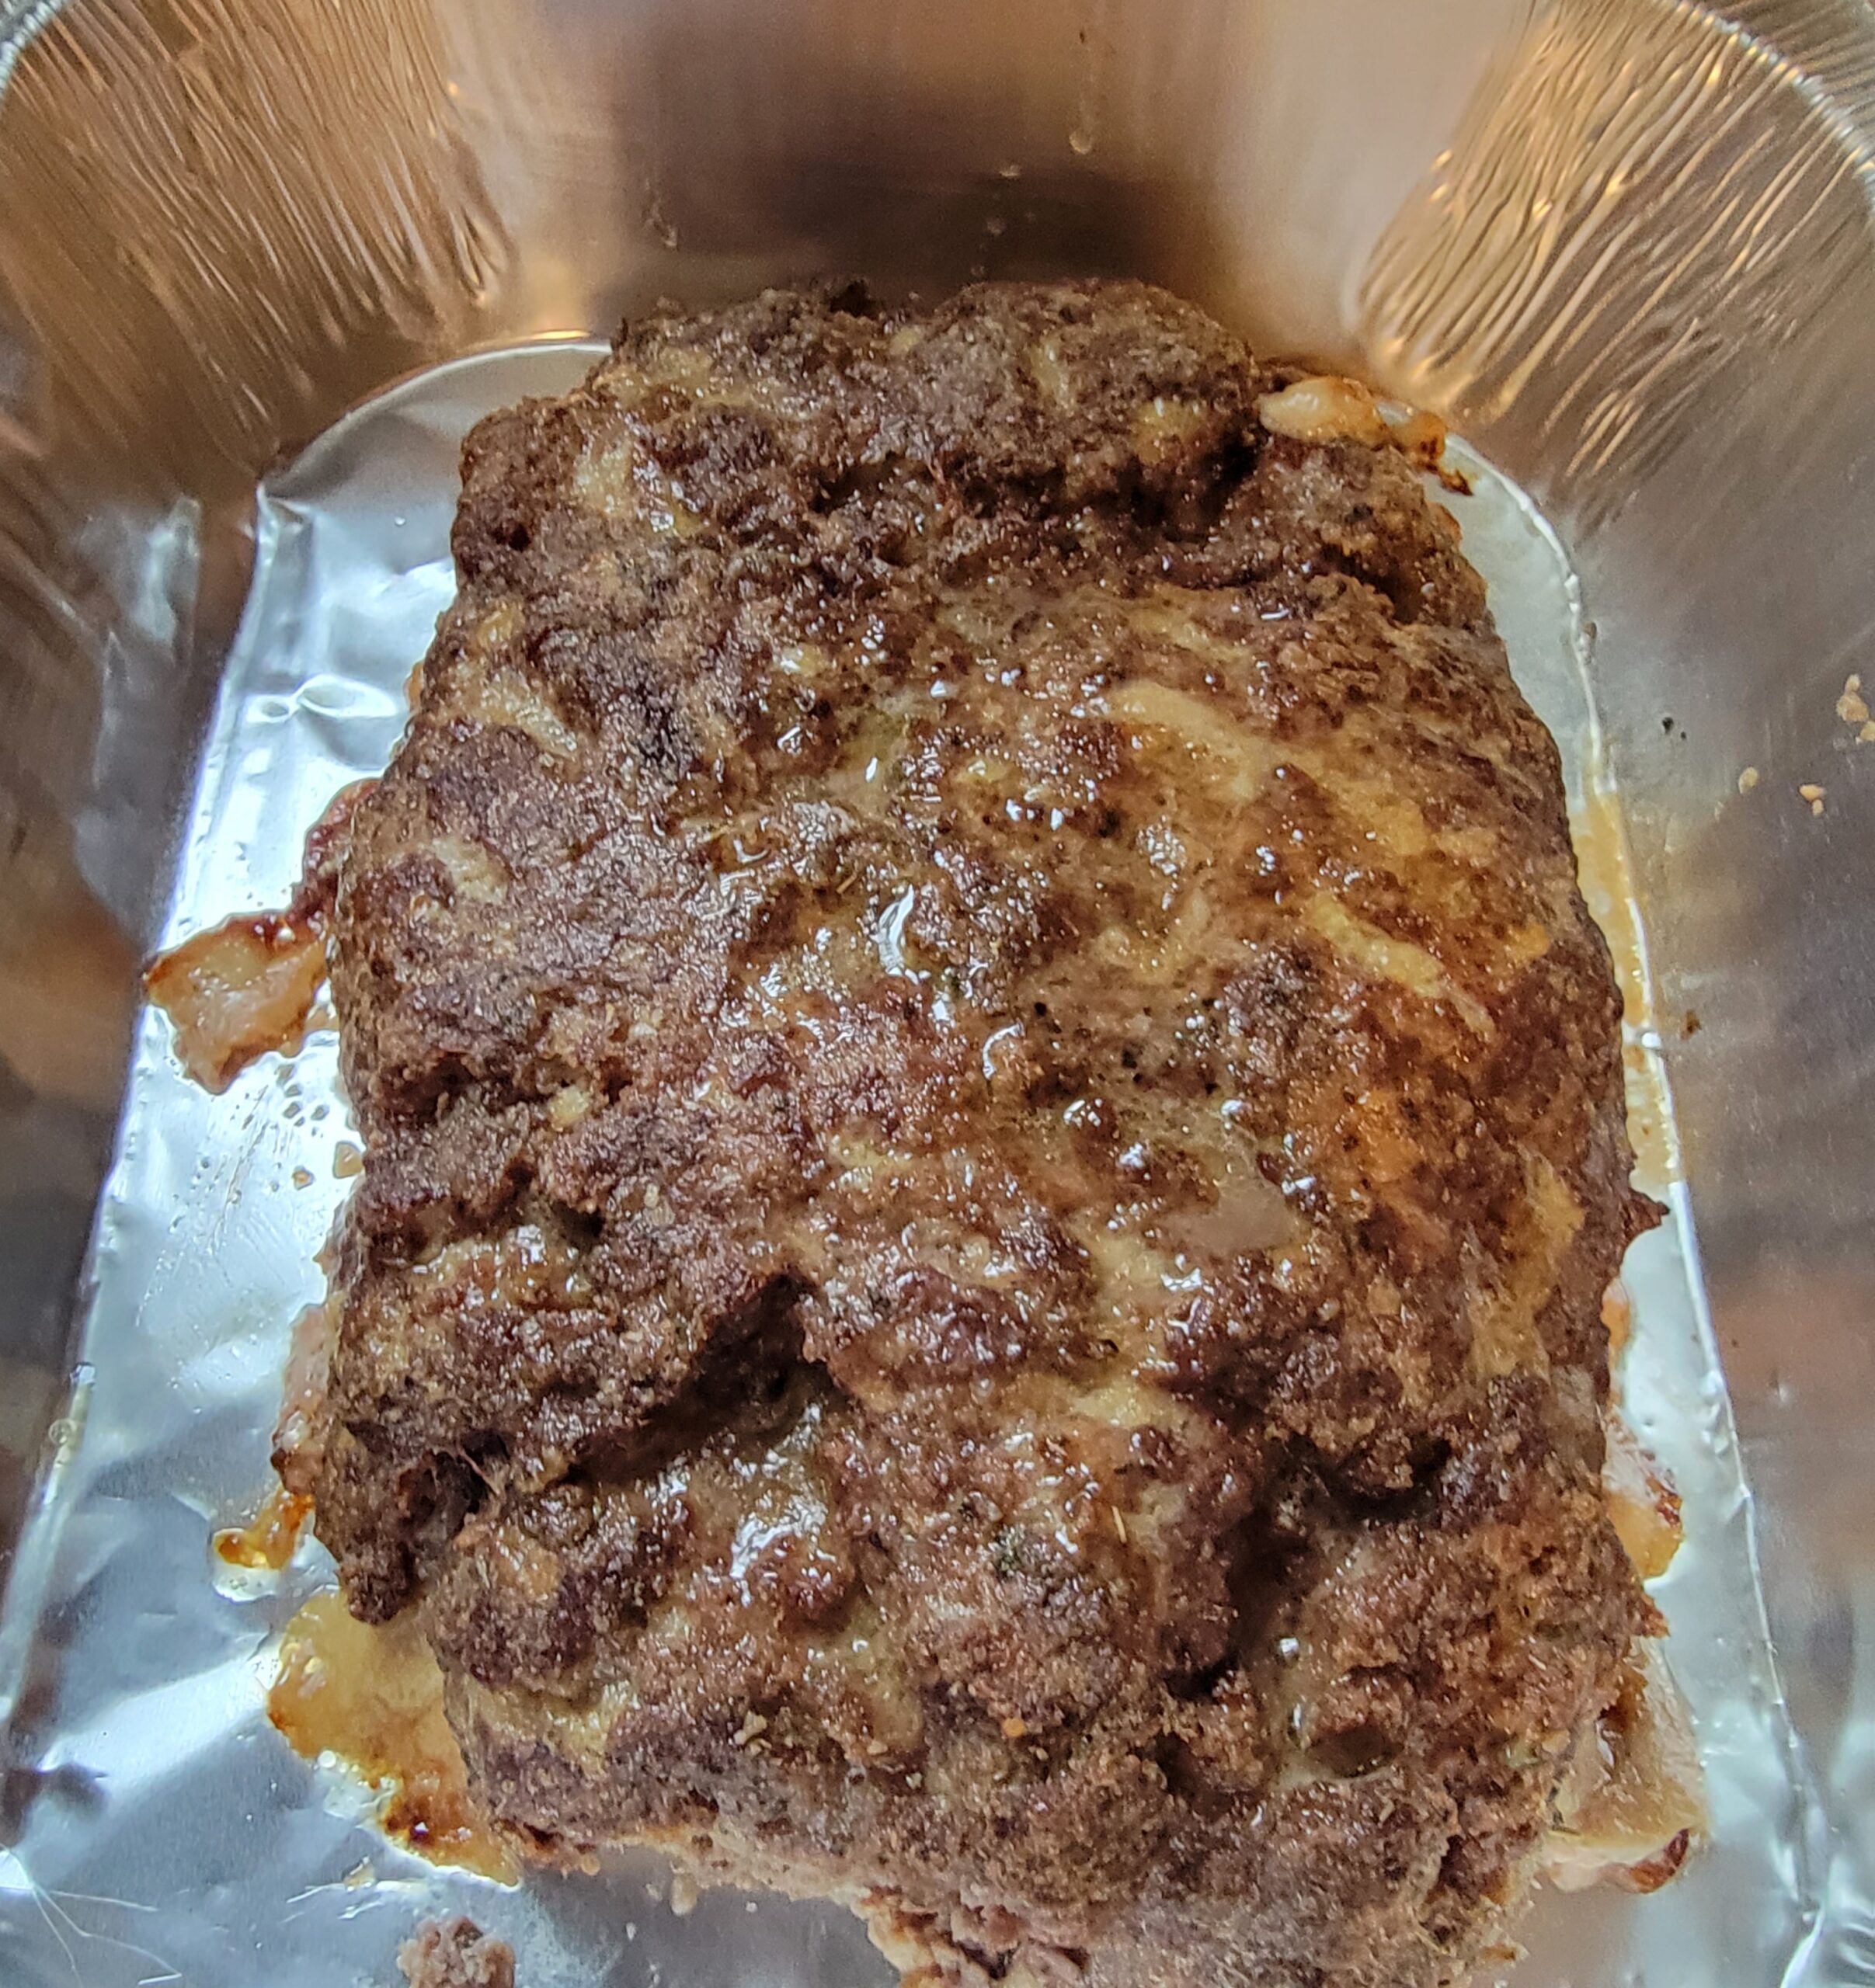
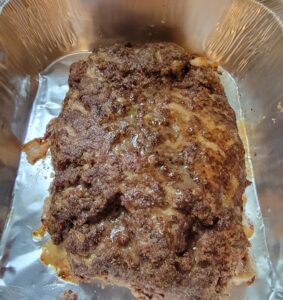
A basic, delicious meatloaf

Meatloaf

This is a great, basic recipe that can be the main meal itself, or the start of an appetizer platter.

Mini meatloaf sandwiches, meatloaf eggrolls, baked potato skins with meatloaf and mashed potatoes in it, etc.

There is so much you can do with a flavorful, juicy meatloaf.

Easy, Yummy Meatloaf

Recipe by Sheri Tomato
Course: Dinner, LunchCuisine: AmericanDifficulty: Easy
Cooking time

40

minutes
5 minutes

Crusty outside, juicy inside. Your guests will love it.

Ingredients

  • 2 1/2 lb ground beef, broken up

  • 4 eggs, beaten lightly

  • 1 TB Worcestershire sauce

  • 1/4 cup ketchup

  • 1 cup Italian breadcrumbs

  • 2 tsp garlic powder

  • 2 tsp Italian seasoning

  • 1 1/2 tsp salt

  • 1 1/2 tsp black pepper

Directions

  • Preheat oven to 400 degrees Fahrenheit
  • Mix ground beef and eggs in large mixing bowl. Add in Worcestershire sauce and ketchup. Mix well.
  • Add the seasoning to the ground beef mix, and then the breadcrumbs. Mix thoroughly, being sure that the breadcrumbs are fully incorporated into the ground beef.
  • Shape into a loaf, approximately 10" x 16" and 2" deep. Place in lightly greased baking pan.
  • Bake in preheated oven for 30 - 40 minutes. Check at 30 minutes. Internal temperature should be at least 160 degrees Fahrenheit when done.
  • Remove from oven. Let rest 5 minutes and then place on a serving dish. Drizzle juices from baking pan over meatloaf.

Notes

  • This would make great meatloaf sandwiches to serve at a party. Spread a little mayo inside a slider roll. Stuff it with a slice of meatloaf and a couple of pickles. Repeat until your sandwich platter is full. Good hot or cold.
 
Meat

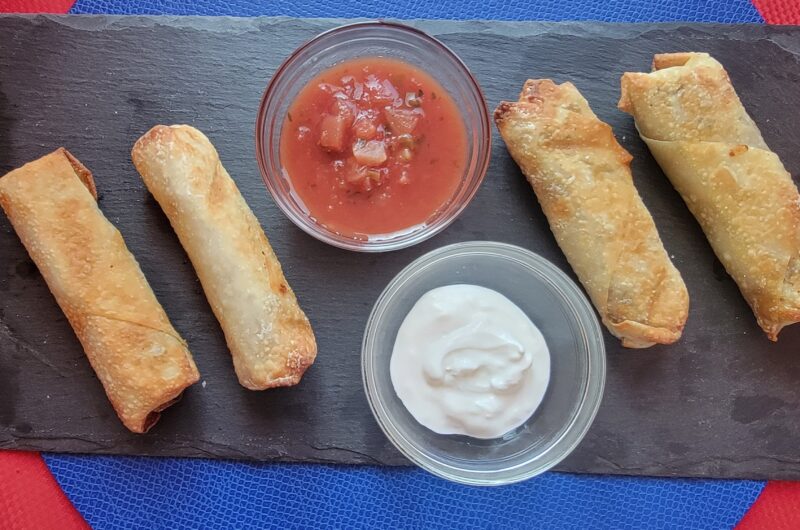
Take some taco logs to the party

This is a great make-ahead appetizer. Prepare them the day before and instead of cooking them, put them in a storage baggie and refrigerate them for up to 3 days.

On the day of the party, preheat your air fryer to 450 degrees fahrenheit and start cooking. It takes approximately 10 minutes per batch.

You could also cook them in the oven. Just lower the temperature to 350 and cook a few minutes longer on each side.

Tasty Crunchy Taco Logs

Recipe by Sheri Tomato
Course: Lunch, Dinner, Appetizers

Ingredients

Directions

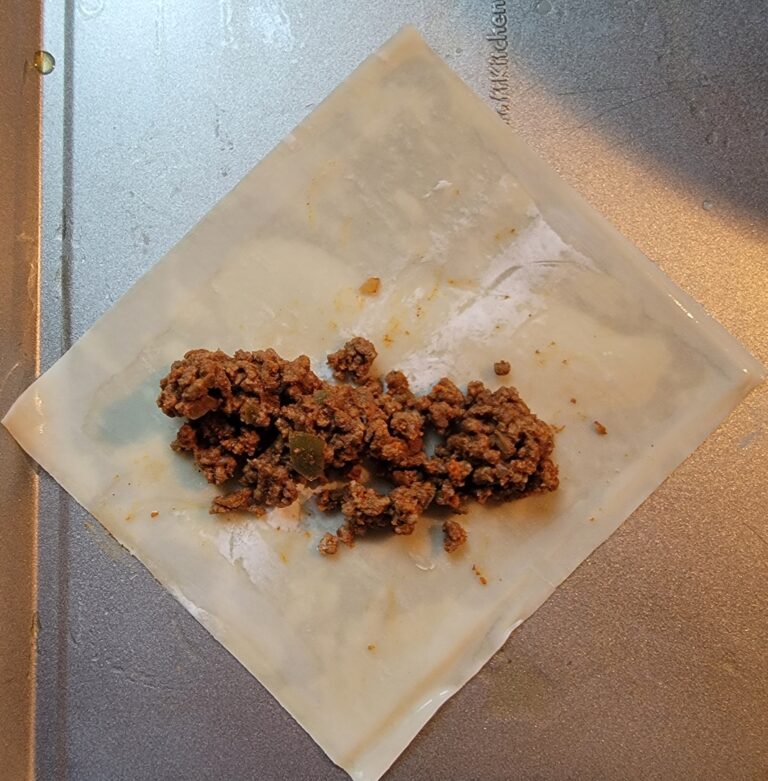
  • Place eggroll wrapper on working surface in a diamond shape, one tip pointed to you. brush small amount of water along edges (this is for sealing the eggroll).
  • Place a line of taco meat in middle of eggroll, leaving space at each end. Sprinkle with hot sauce (optional)
  • Place a line of cheese on top of taco meat.
  • Starting at the bottom, begin to roll wrapper tightly but gently over meat, stopping midway to tuck in sides like an envelope. Then finish rolling.
  • Place another eggroll flat on your rolling surface. Place already rolled eggroll on top of it and roll it up. This is a double roll eggroll. This will give you a nice crispy outside, without the insides leaking out.
  • Once all of your eggrolls are done, brush them lightly with your olive oil baste. Sprinkle with everything bagel seasoning (optional).
  • Preheat air fryer to 450 degrees. Lightly oil bottom of air fryer basket. When it is ready, cooking in batches, lay eggrolls flat on the bottom with a little space between each one.
  • After 5 minutes, flip over and cook another 3 - 5 minutes. The eggrolls are done, when they reach a golden color.
  • Serve with a bowl of salsa and a bowl of sour cream, for dipping.

Notes

  • Makes 10 eggrolls.
 
Garlic Olive Oil Baste
Sauces and Bastes

The olive oil baste you’ll want to use on everything

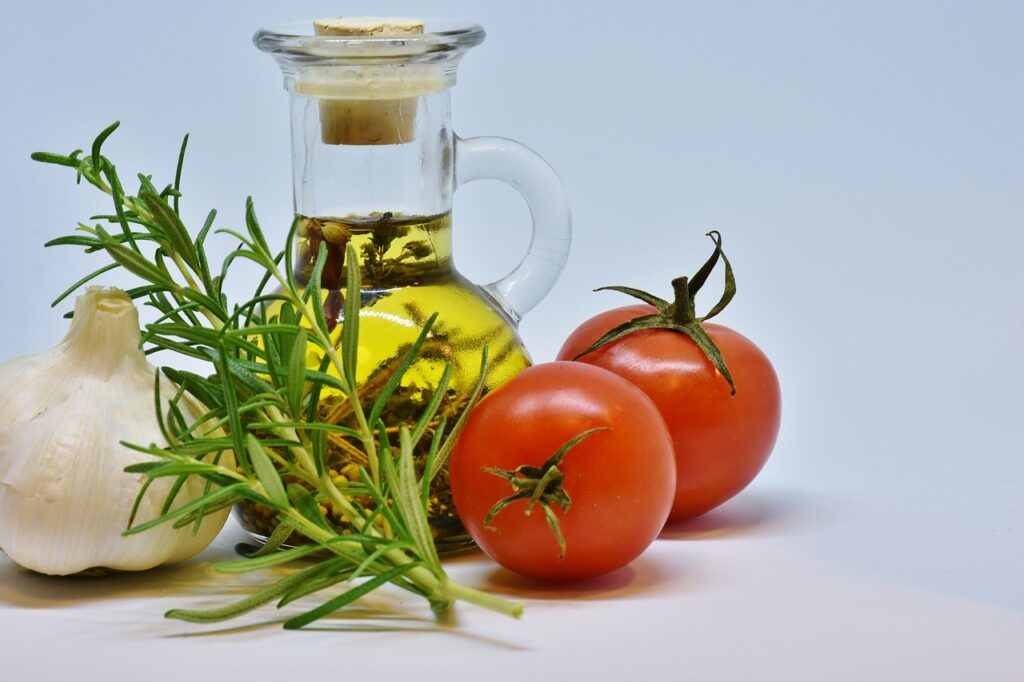
oil, olive oil, food-3112195.jpg
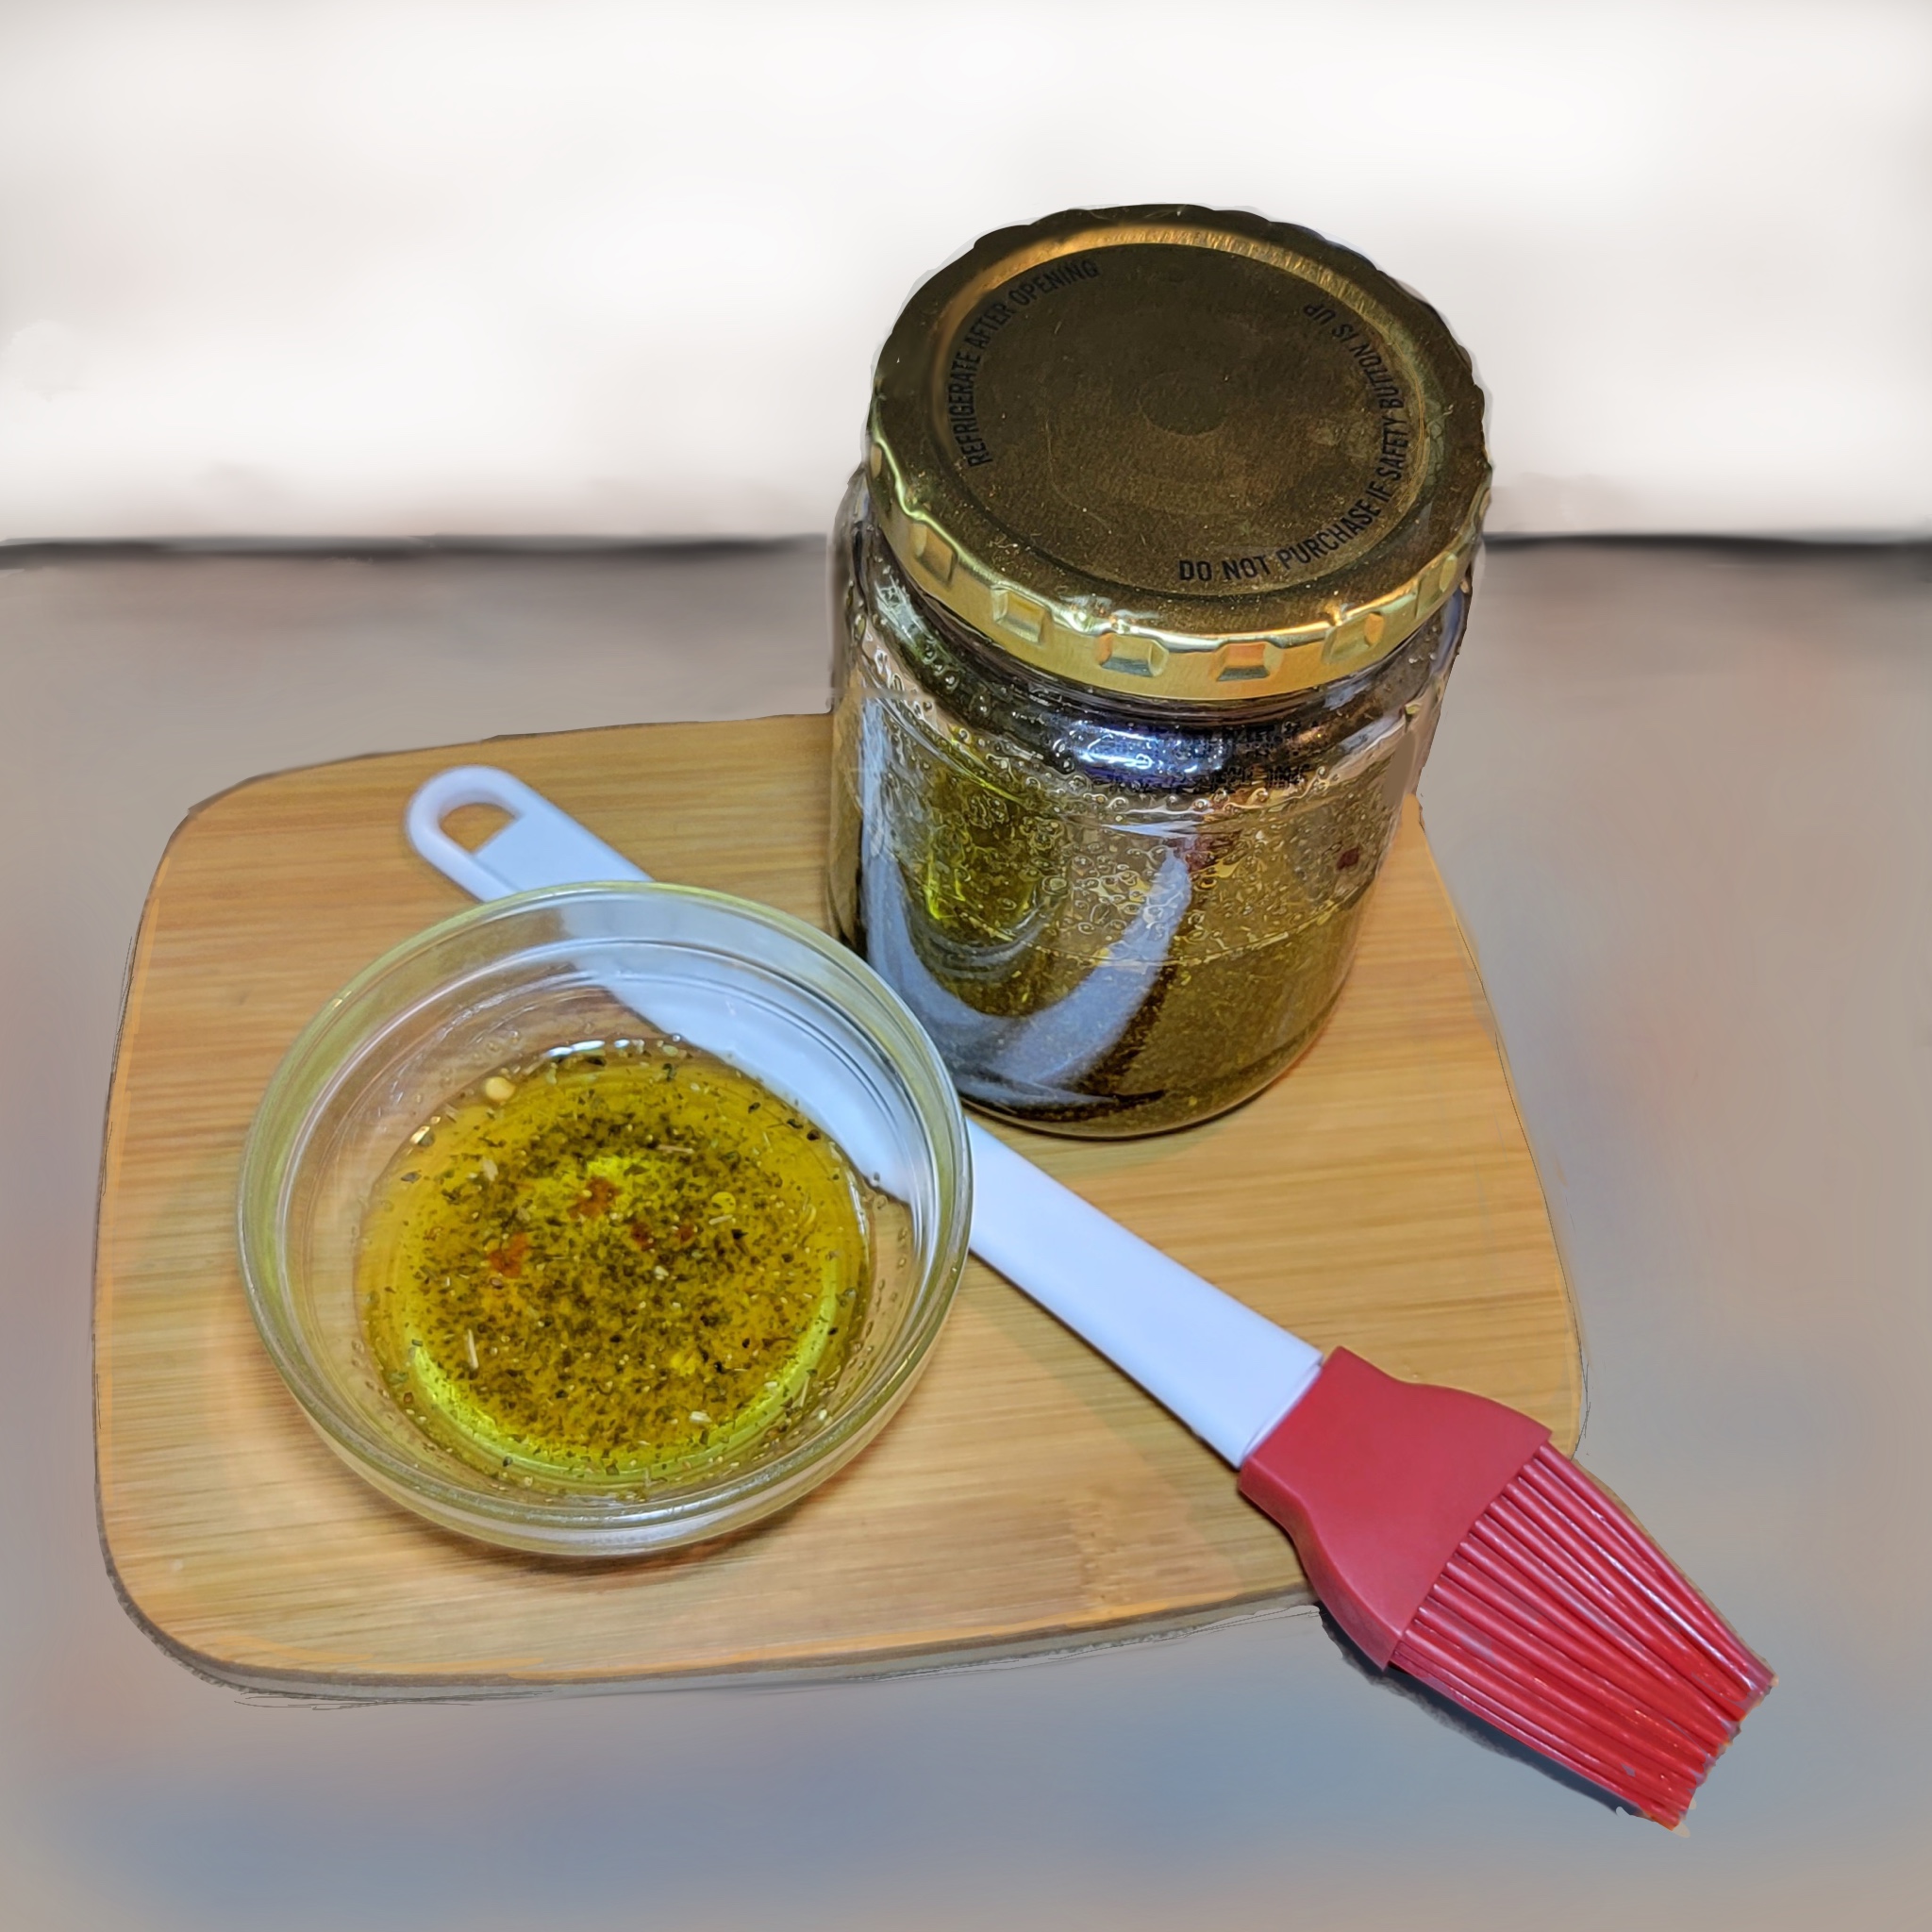
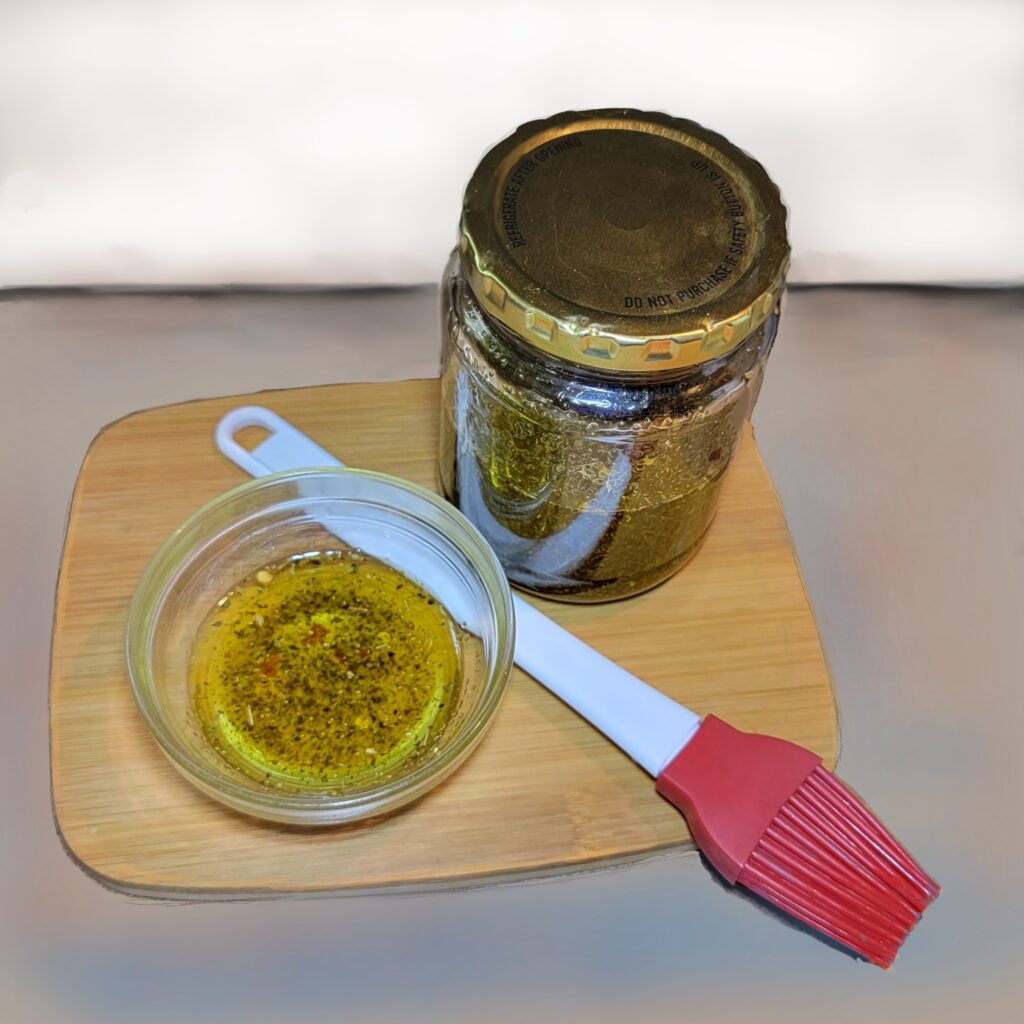
Garlic Olive Oil Baste

I use this recipe all of the time. I use it to baste my pizza dough, my eggroll wrappers, my bruschetta, you name it. I keep a jar on my kitchen counter at all times, because I use it constantly.

This recipe was given to me by a man who goes by the name of Freelancer. He is not a social media type of guy, so I have no link for you, but he is a great foodie.

Seasoned Olive Oil Baste

Recipe by Sheri Tomato

Ingredients

  • 1 cup extra virgin olive oil

  • 1 tsp garlic powder

  • 1 tsp dried basil

  • 1/2 tsp dried oregano

  • 1/2 tsp red pepper flakes

  • 1/2 tsp black pepper

  • 1/2 tsp onion powder

Directions

  • Combine all ingredients in glass jar with tight-fitting lid.
  • Shake well to combine.
  • Does not need to be refrigerated. I recommend keeping it on the countertop. I use this constantly.

 
homemade pizza
Appetizers, Doughs

Let’s Make a Pizza

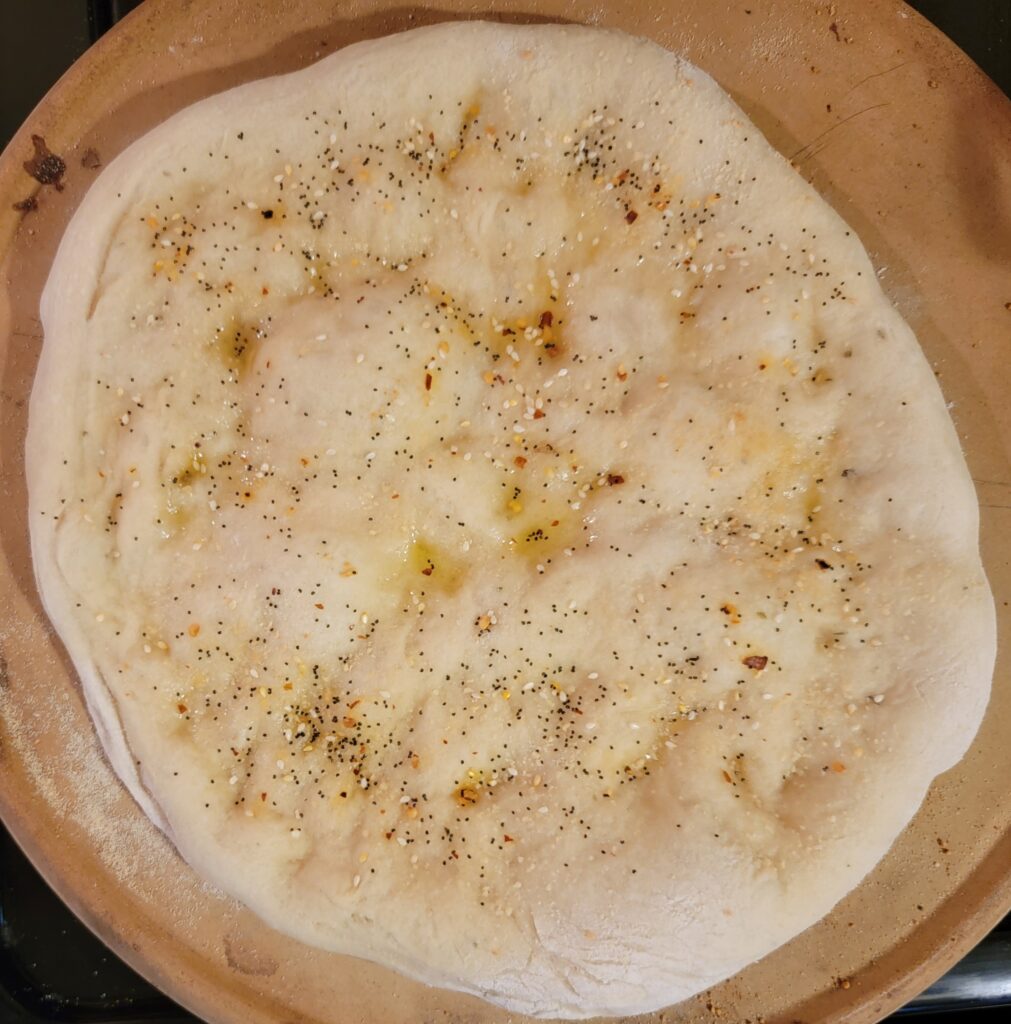
Baked dough after 5 minutes in the oven.
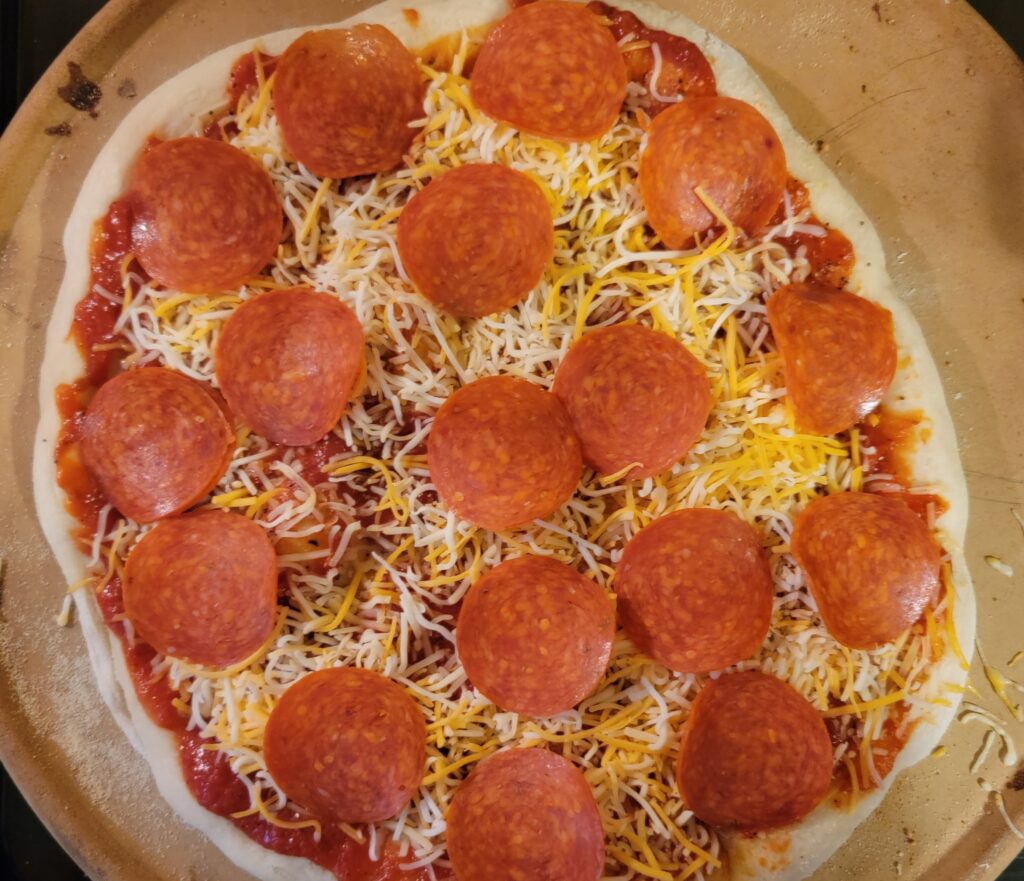
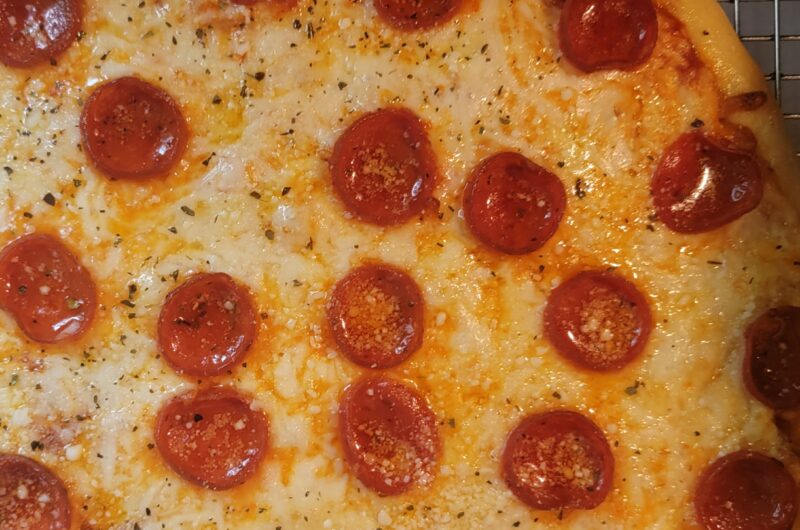
Pizza, after first bake, all dressed up and ready to bake.
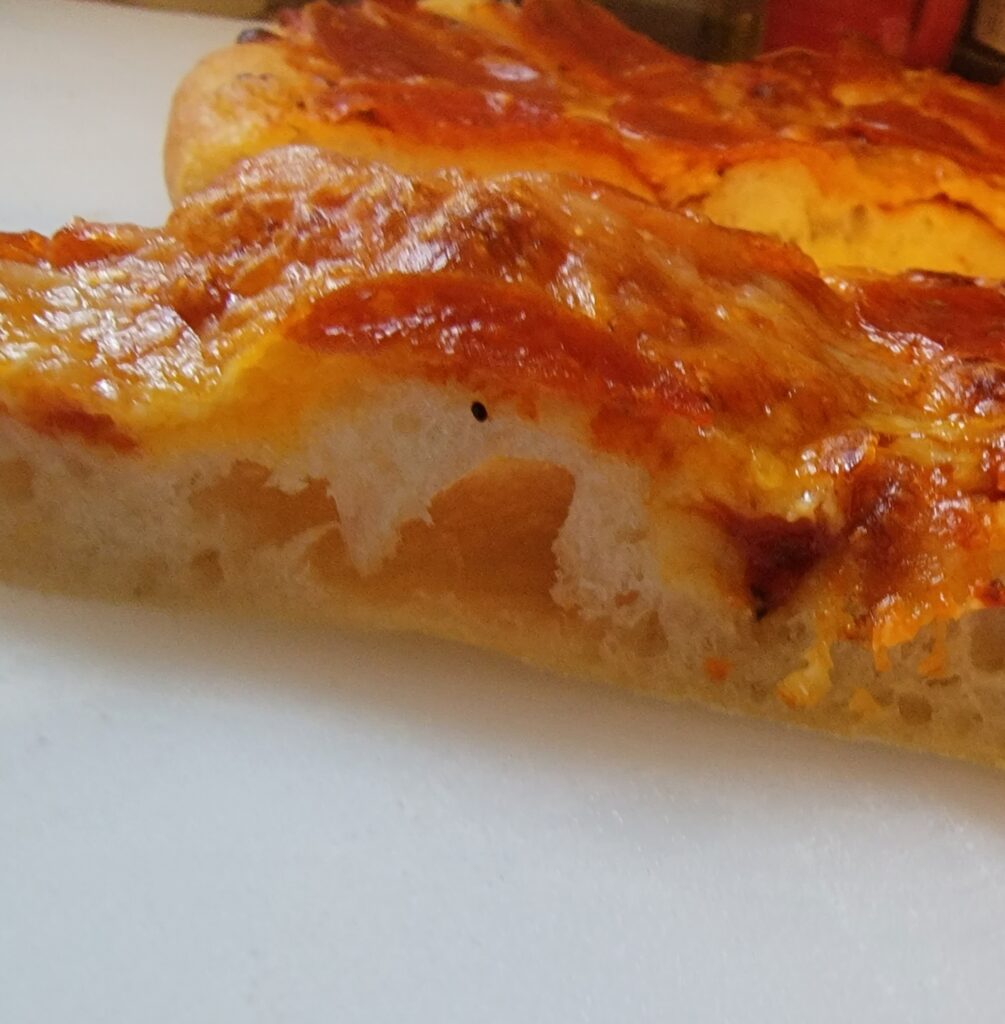
Check out the crust on that baby. Mmmmm.

Check out My go-to Pizza Dough Recipe or use store bought pizza dough if you don’t have the time to make your own. If using my recipe, be sure to make the dough the night before you need it. It makes a really tasty, crispy, airy crust. Really yummy.

Delicious pizza you can make at home

Recipe by Sheri Tomato

Double bake homemade pizza. So delicious.

Ingredients

  • Pizza Dough My go-to Pizza Dough Recipe or store bought

  • 1/4 cup flour for working the dough

  • small amount of Semolina flour for dusting the pizza peel if you have it, all-purpose flour if not.

  • 1/4 cup of The olive oil baste you’ll want to use on everything or store bought olive oil

  • 2 TBS Everything Bagel seasoning (optional)

  • 1 cup jarred pizza sauce or my homemade pizza sauce – Your New Favorite Pizza Sauce Recipe room temperature

  • 2 cups shredded cheese – combination of mozarella, provolone and Monterey Jack

  • Pepperoni slices (20 -30, depending on your preference)

  • 1/8 cup Grated Parmesan Cheese

Directions

  • If dough was refrigerated, bring to room temperature in bowl with lid. (1-2 hours)
  • Place pizza stone in oven. Preheat oven to 475 degrees Fahrenheit.
  • While your oven is preheating, place your dough on a lightly floured surface.
  • Flatten dough gently and spread out the dough, using your fingertips. Push gently from the middle with a poking, pushing motion, all the way out to the sides. Flip over and do the same to the other side. Repeat this 3 more times. If dough is sticky, use a small amount of flour on your hands. If you’re feeling particularly brave, a few tosses in the air will do it some good.
  • Cover dough with a clean kitchen towel for about 10 minutes. Then repeat step four.
  • In the meantime, gather your other ingredients.
  • When oven is done preheating, sprinkle your pizza peel with semolina flour. Carefully place dough on peel. Stretch and shape the dough to desired size. Dough should be able to slide easily on peel. If it sticks anywhere, use more flour.
  • Take your pizza stone out of the oven carefully. It will be very hot. With one quick jerking motion, slide dough from peel onto stone. This takes practice. Pull at sides of dough for final shaping.
  • Brush olive oil lightly over entire top of dough. Sprinkle Everything Bagel Seasoning if desired.
  • Place pizza back in oven. Let dough bake for 5 minutes. This will be your first bake.
  • After it has baked for 5 minutes, take pizza out of oven. You are now ready to apply the toppings.
  • Spoon pizza sauce over top being sure to go almost to the edges. Next, sprinkle on the cheeses. Then spread out the pepperoni on top. Brush the edges of the dough with olive oil and back in the oven it goes.
  • This will be your second bake. Bake for 10-15 more minutes, keeping a careful eye on it. The pizza is done when the dough is golden, and the cheese is bubbling. Immediately after taking it out of the oven, brush the edges one more time with olive oil and then lightly sprinkle grated parmesan cheese on top of entire pizza.
  • Let cool for a few minutes and then slice it up and enjoy!
 
seasoned pizza dough
Uncategorized

My go-to Pizza Dough Recipe

Overnight pizza dough

Recipe by Sheri Tomato
Cuisine: Italian
Servings

4

servings
Prep time

30

minutes
Cooking time

40

minutes
Calories

300

kcal

This is my go-to pizza dough recipe. It is made in a stand mixer and rises overnight in the fridge. I like a thick crust pizza, but if you are a thin crust kind of person, you can divide the dough in half and make two thin crust 12″ pizzas.

Ingredients

  • 1 1/4 tsp active dry yeast

  • 1 tsp sugar

  • 1 1/3 cups very warm water

  • 2 TB olive oil

  • 2 cups cups unbleached all purpose flour (may need a little more or less to reach desired dough consistency).

  • 1 Cup 00 pizza flour

  • 1 TB salt

  • 1 tsp garlic powder

  • 1 tsp chia seeds (optional)

  • 1/4 tsp Dried basil

  • 1/4 tsp Dried Oregano

  • 1/4 tsp dried rosemary

  • 1/4 tsp Dried thyme

Directions

  • In a stand mixer, combine yeast and sugar. Gently pour water over the sugar and yeast, and then add the olive oil. Use whisk attachment to combine. Let sit 10 minutes to proof.
  • While your yeast is proofing, combine flours, salt, chia seeds, garlic powder, basil, oregano, rosemary, and thyme in a separate bowl. Mix thoroughly with a whisk for at least one minute.
  • After the ten minutes of proofing, your yeast mixture should have formed bubbles. If the mixture forms bubbles, proceed to step 4. If there are no bubbles, the yeast is no good. Toss and start over with fresh yeast.
  • Attach dough hook to your stand mixer. Add your flour mixture 1/2 cup at a time to your mixing bowl. Alternate between low and medium speed as you add the flour. Stop and scrape the dough from the hook and the sides of the bowl with a rubber spatula a few times during the mixing. This will ensure that all of the flour gets incorperated.
  • When dough is pulling away from the sides and just a little bit sticky, use your rubber spatula to gently transfer it to a lightly floured surface.
  • Form the dough into 2 smooth balls, about 16 oz each. Or for, one large, thick crust pizza, form into one ball. Roll the dough in the flour and fold it, repeating until the dough reaches the desired shape and texture. Add flour a little at a time, if necessary.
  • Place your dough balls into a lightly oiled containers that hasve an airtight lid. The oil should have a light oily film on the bottom and up the sides of the containers. The containesr should be more than twice the size of the dough balls, as the dough will double in size as it rises. Place one dough ball in each prepared container and roll the dough ball in the oil, so that the dough has a light coat of oil over the entire ball. Cover the containers with an air tight lid. Place the containers in a warm place for 1 – 2 hours or until dough has doubled in size.
  • After the dough has doubled, place your covered containers in the refrigerator overnight. This will enhance the flavor of your dough. Dough can be kept in the refridgerator for up to 3 days.
  • On the day you are ready to make your pizza, take dough out of refrigerator 2 hours beforehand and place (still inside closed container) in a warm spot for 2 hours to let it come to room temperature. It is then ready to use.

Notes

 
Doughs

Take your eggroll appetizers to a new level with this homemade eggroll wrapper recipe

My favorite way to make homemade eggroll wrappers

Recipe by Sheri Tomato


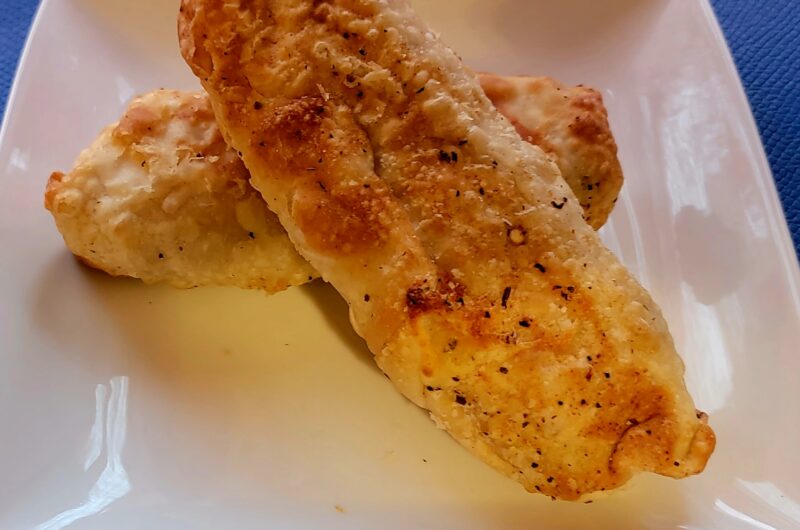
I used this recipe to make my gigantic pizza rolls shown in the picture. You can make them smaller or larger. The size of your dough balls decides the size of your eggroll appetizers.

Ingredients

  • 3 1/4 cup 00 pizza flour
    2 tsps. salt
    1 tsp cream of tarter
    2 eggs
    1 cup water
    cornstarch
    olive oil baste (see recipe in my basic recipes section)

Directions

  • Mix flour, salt and cream of tarter in a seperate mixing bowl.
  • In kitchen aid mixer bowl, combine eggs and water
  • Mix in the flour mixture, 1/2 cup at a time, to the wet mix in your kitchen aid mixture. Combine at a low to medium speed.
    Continue adding the flour until the dough pulls away from the sides and begins to form into a sticky ball.
  • Turn the dough onto a flavered surface and knead for about five minutes until your dough ball is smooth, adding more flour, sparingly, as needed.
  • Cover the dough with a bowl or clean kitchen towel and let rest for 30 minutes.
  • Divide your dough into 16 balls. Cover them up with a clean kitchen towel and let rest 5 more minutes.
  • Work with one dough ball at a time, leaving the rest covered as you work.
  • Roll your dough ball into a flattened circle, turning and flipping it as you roll it out. You want it to be very thin. Your circle should be around 8" when you are through.
  • As you roll each ball into your desired size, stack them on a plate with corn starch dusted generously between each wrapper. Continue to cover them as you work.

  • When you are done you should have a stack of 16 eggroll wrappers.
  • At this point, you can either gather your filling and begin wrapping them in your fresh eggroll wrappers, or seal the wrappers in a baggie and refrigerate them for later use. You can refrigerate them for up to 5 days or freeze them in a freezer bag for up to 3 months.

Notes

  • For my pizza logs, I used 3 cheeses (provolone, mozzarella and a little bit of jalapeno cheese) and sliced pepperoni. I rolled and baked them in my air fryer for approximately 8 minutes, lightly basted in garlic olive oil. A more detailed pizza roll recipe will be in my next post.
  • You can fill these guys with almost anything. I will be adding more party eggroll recipes very soon.